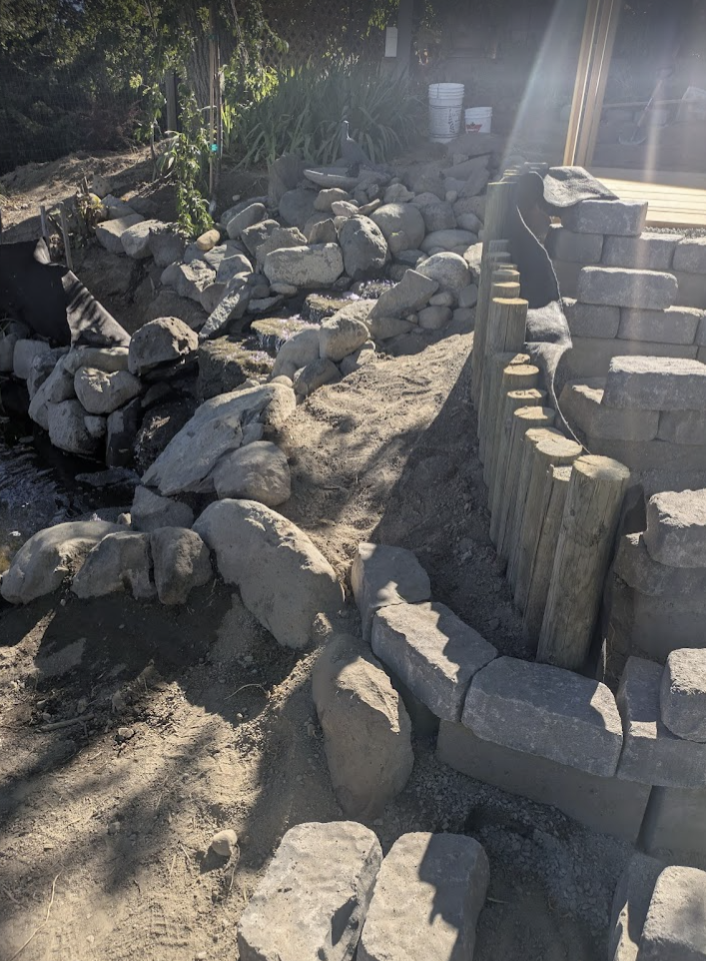
Day 36, Saturday, July 4, 2026: Weeping Cherry is in!
The weekend crew faced another hot day in the morning and began the morning shift around 8:30 am. P and D began their work on solidifying the bottom steps. Y watered the very thirsty plants, and then joined D and P as they finalized the steps. They’d decided to use glue instead of simply relying on organic materials like sand and dirt mixed with water like we did for the path since they wanted a really solid set of steps that wouldn’t simply move when the wind blows away the dry dirt in big windstorms over time.
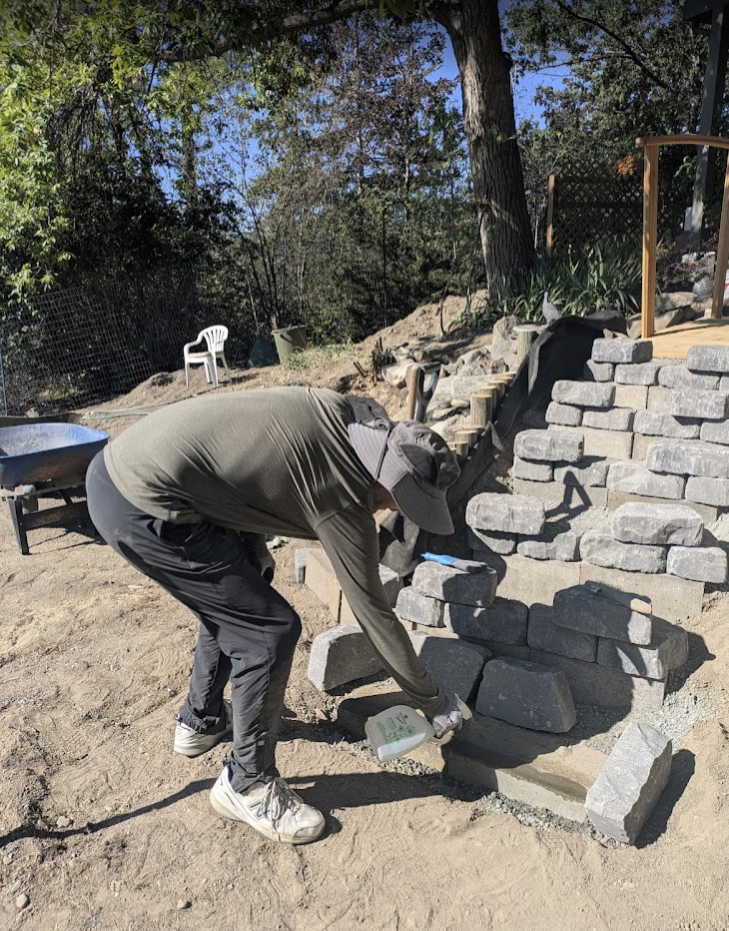
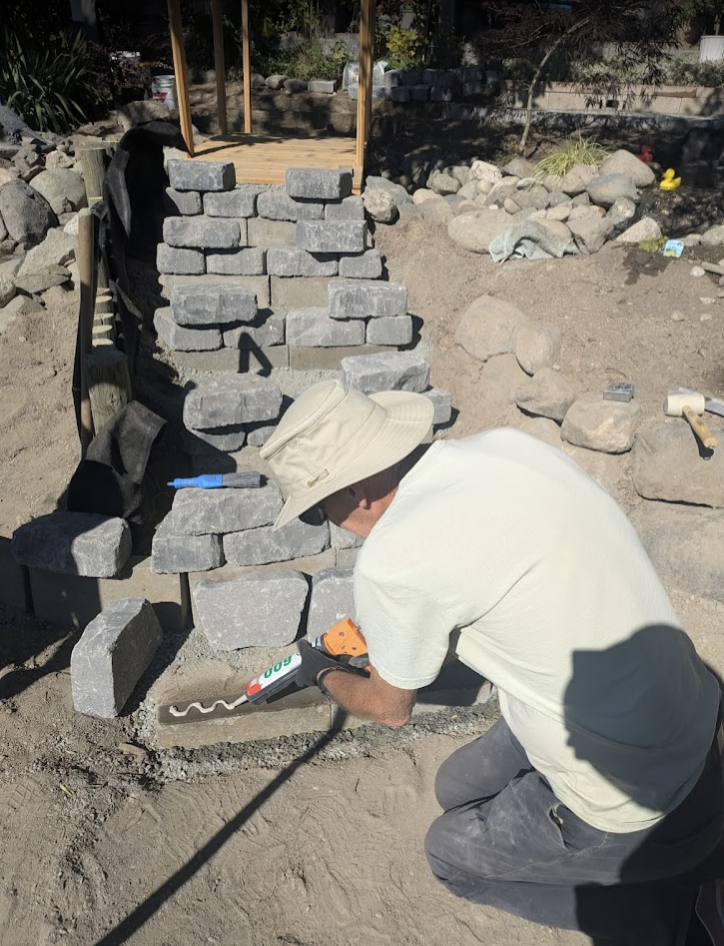
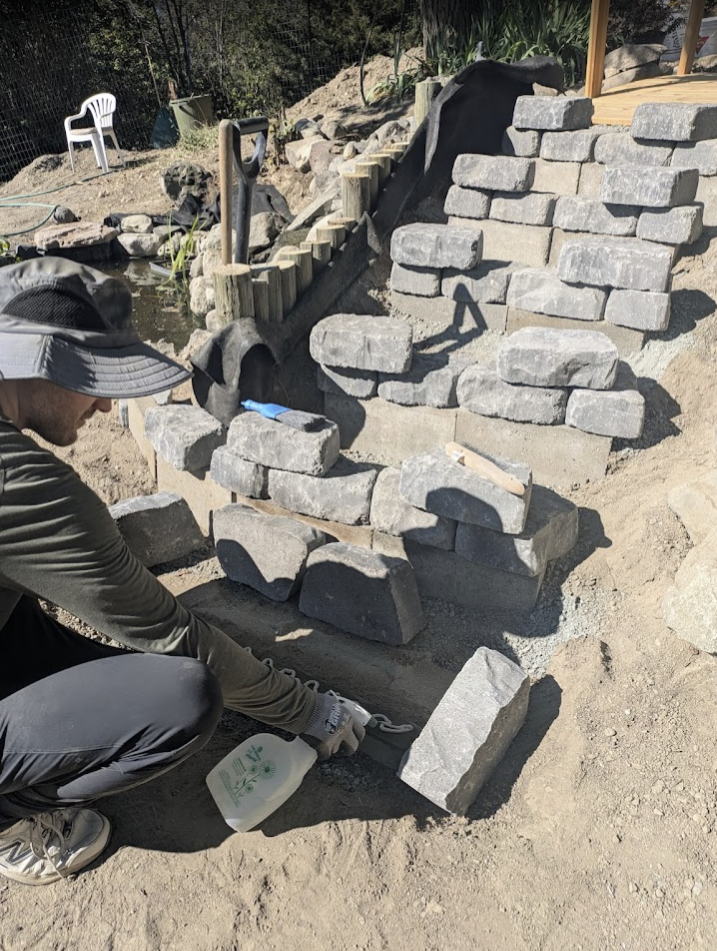
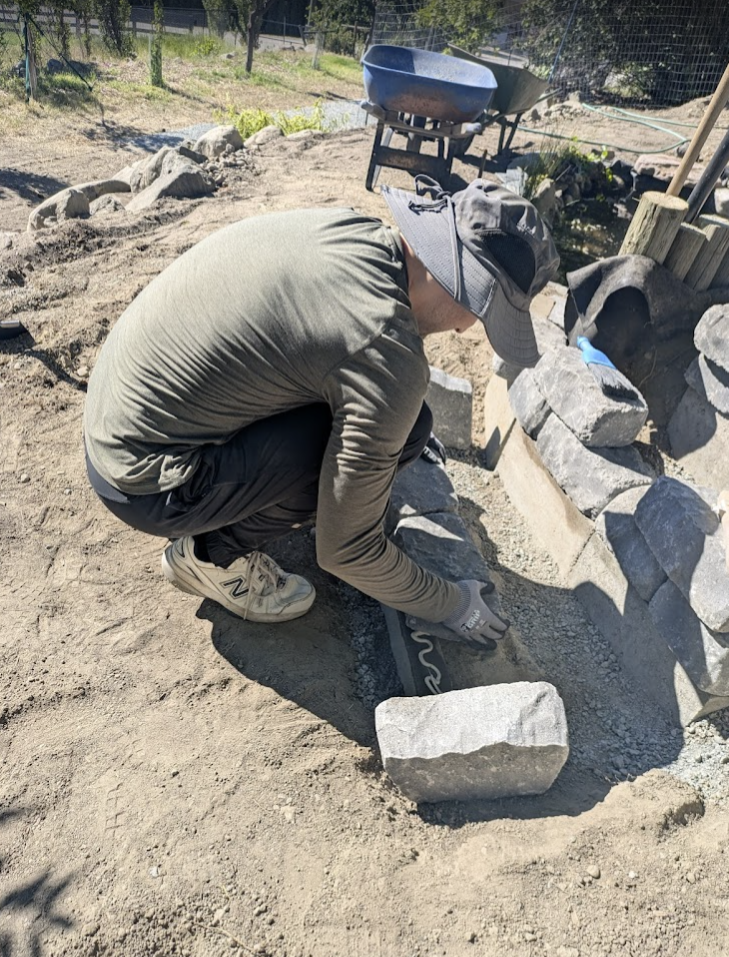
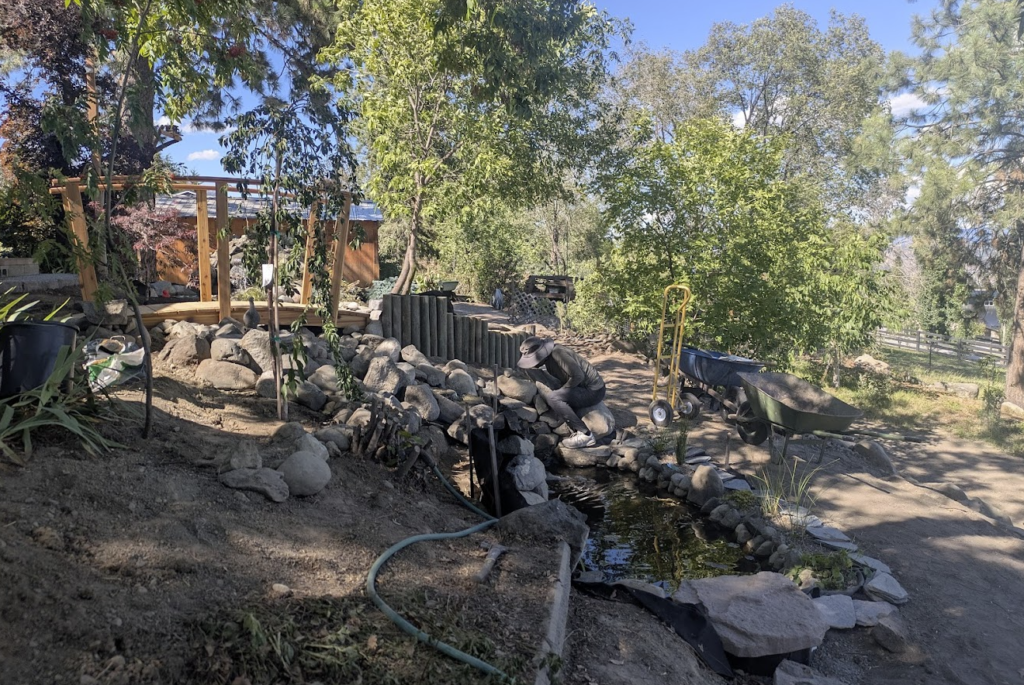
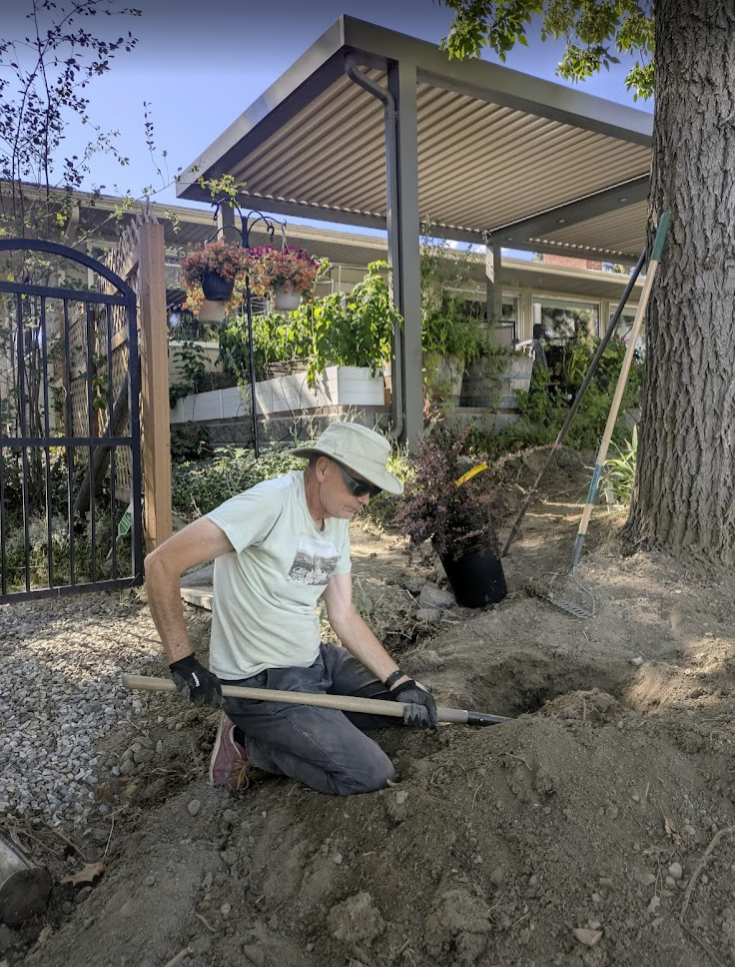
After wrapping up work on the steps, we focused our attention on prepping the area where we would plant our new Weeping Cherry tree. The dirt around here was hard-packed and full of roots from the old big Ash tree. D took the time to clear out the ledge we would need to place more rocks/plants on right above the Bottom Pond, while P prepped the planting area with a digger and a shovel. The crew took a break to go watch the World Cup for a few hours.
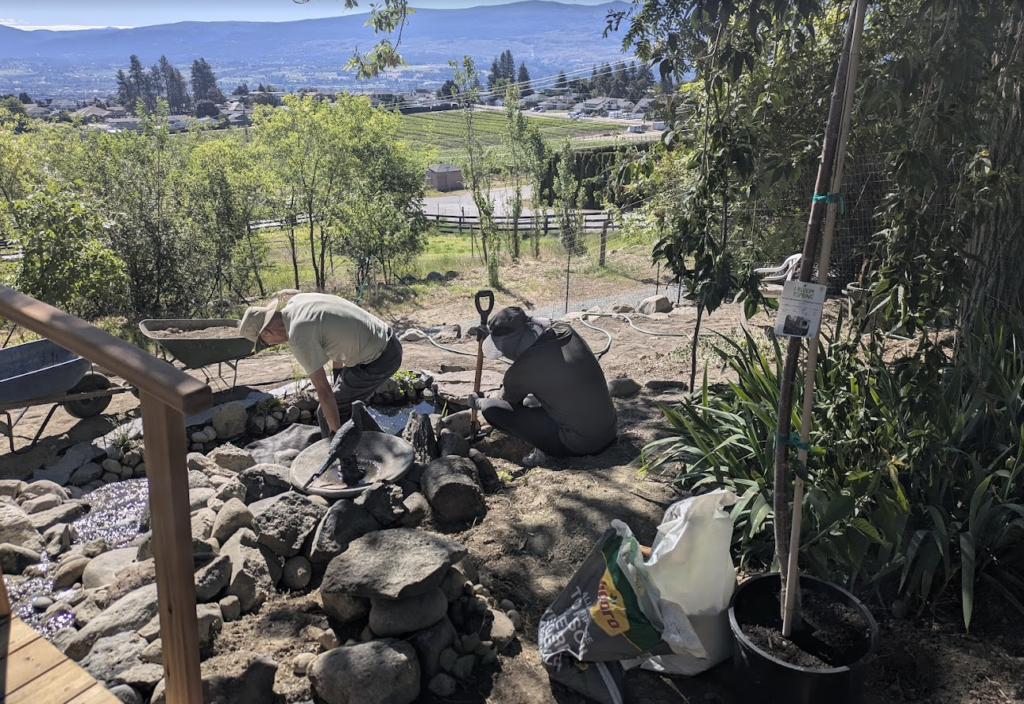
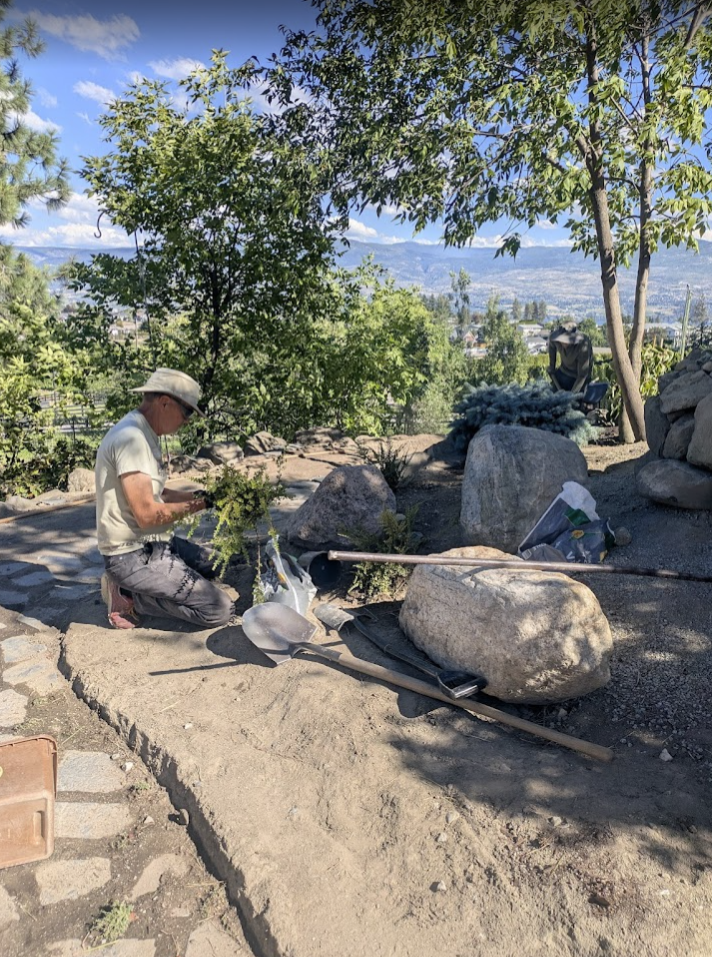
In the afternoon, the crew was back and continued where they’d left off. The planting area took some more digging after which D and Y planted the Cherry cascading down (eventually) into the pond.
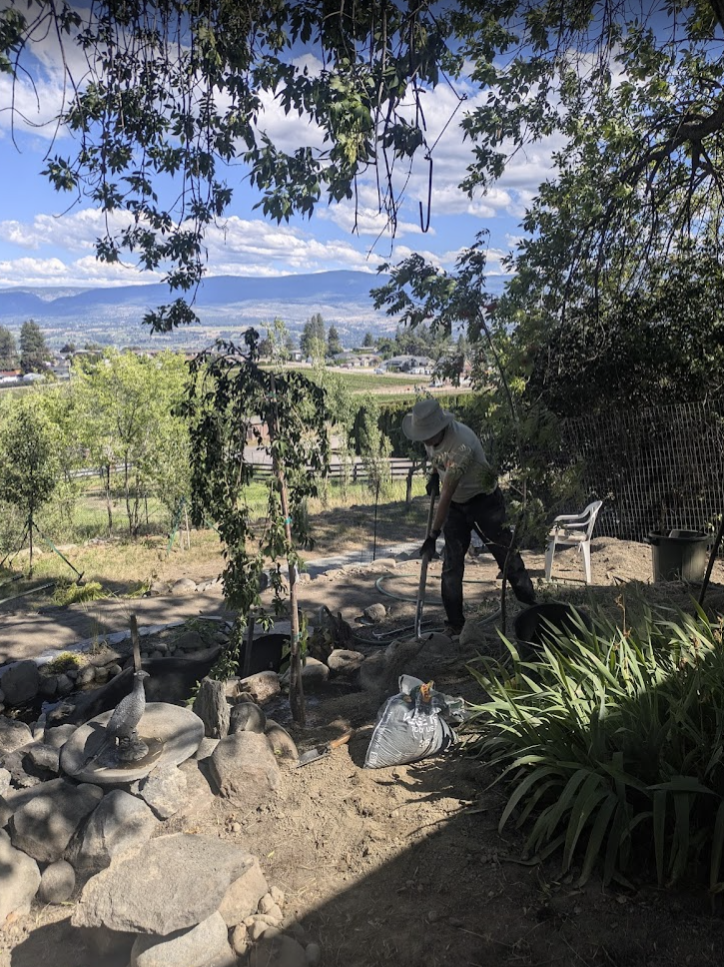
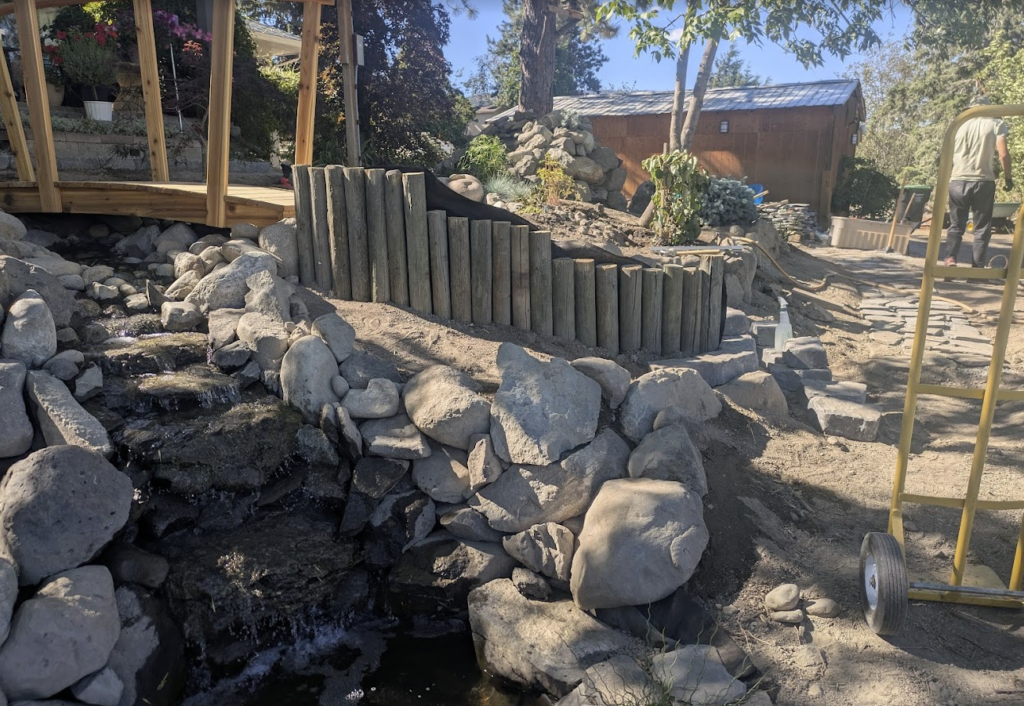
P brought in some more large rocks that D and he had identified on the property to build out a support wall on the North end of the Bottom Pond. D and Y continued their planting and added the thorny Barberry over by the Ash tree, hopefully out of any Service areas. They also planted the third Cotoneaster. P finished building the rock support wall, and filling the narrow triangular area with dirt. We ended the day by brainstorming which plants to add to the triangular patch besides the bridge and the bottom pond given we had just 6” of dirt for the roots to establish.