Day 16, Sunday, June 14, 2026: We have waterfalls!
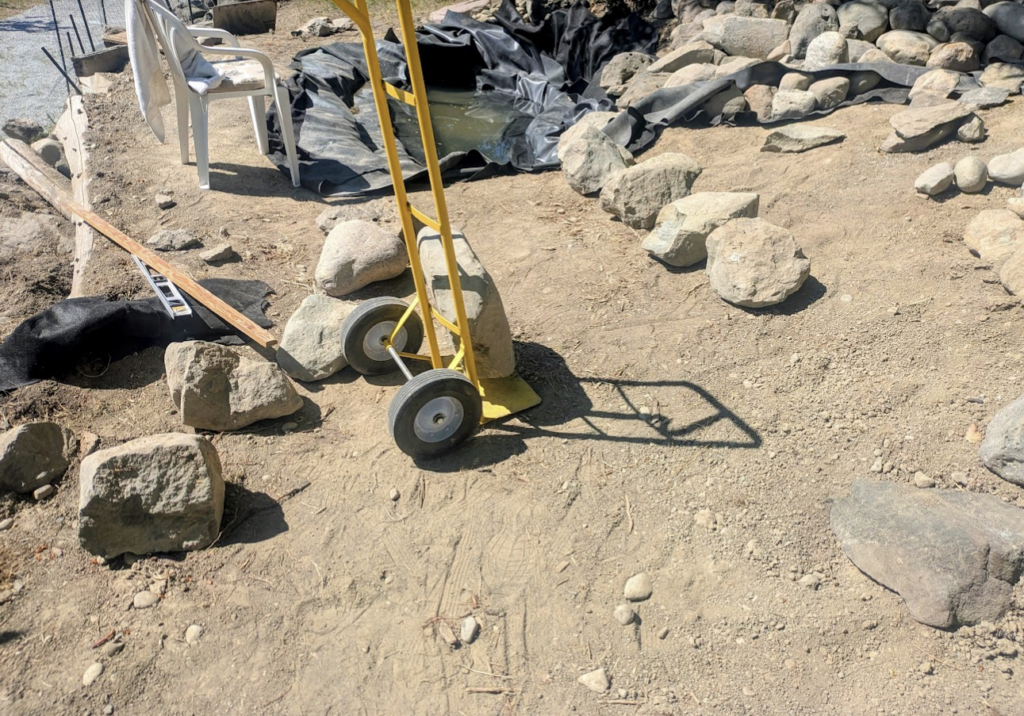
We started our Sunday morning early since it was going to be another hot day. We planned to finish up the lower pond area. We cut out the liner around the skimmer and began to trim back both the under-lay and liner around the lower pond area.
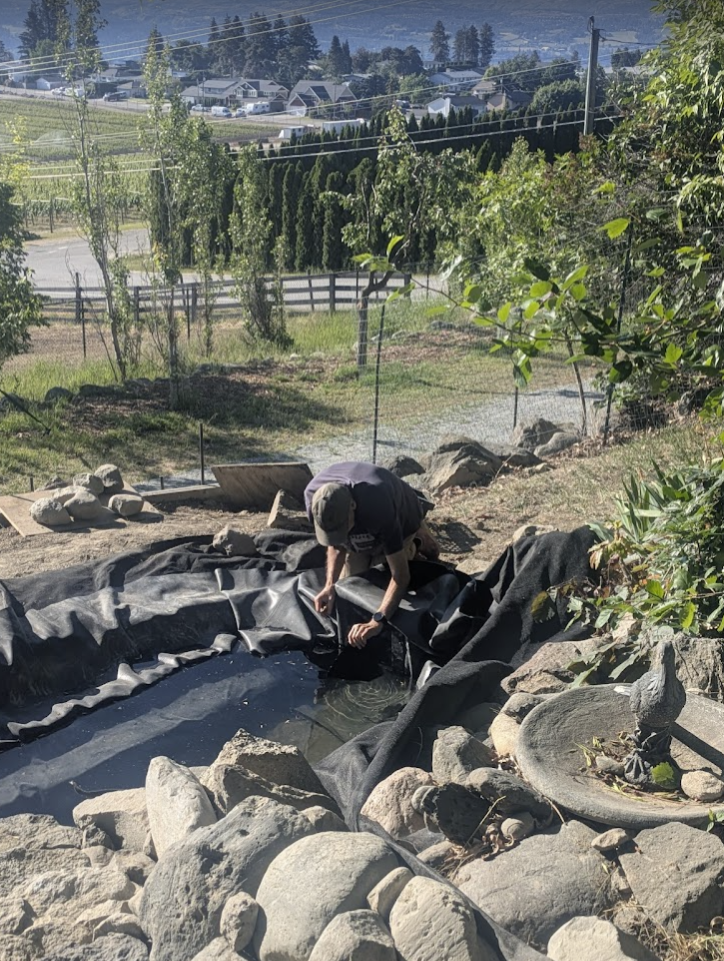
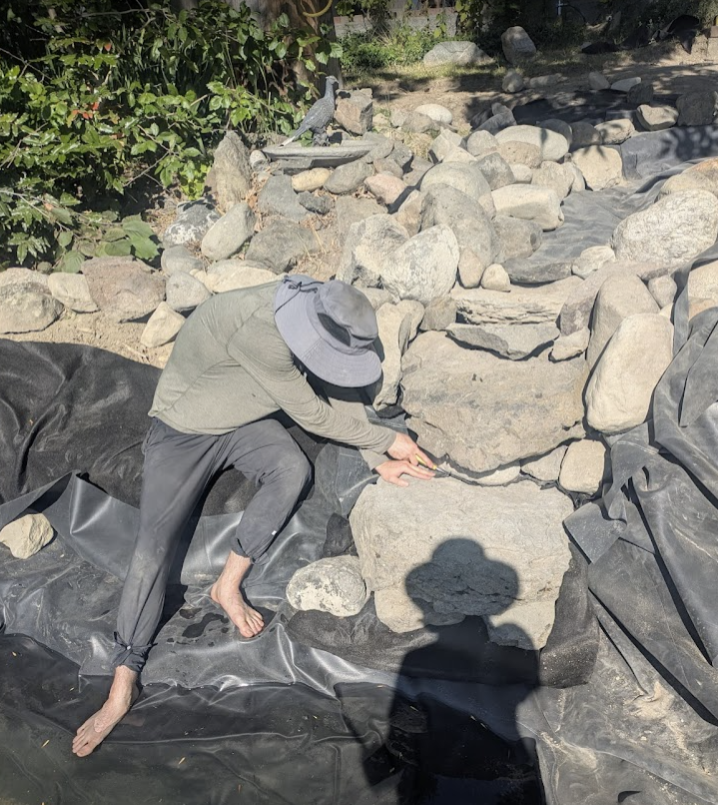
We made a few more trips down to the rock quarry to find suitably large shelf rocks or waterfall edge rocks to place around the lower pond. The sun took its toll on us quickly and we decided to use the tractor equipped today with a stoneboat to haul in three to five rocks at a time. Since P had come out of the lower pond and there wasn’t enough time to get our feet wet before we had to leave for a trip to the plant store, we spent a few more minutes building the back of the waterfall stack by the upper pond since we had left it incomplete. Also, some of the rocks we had just gotten seemed too heavy to lug across to the far shelf of the lower pond over uneven and watery footing.
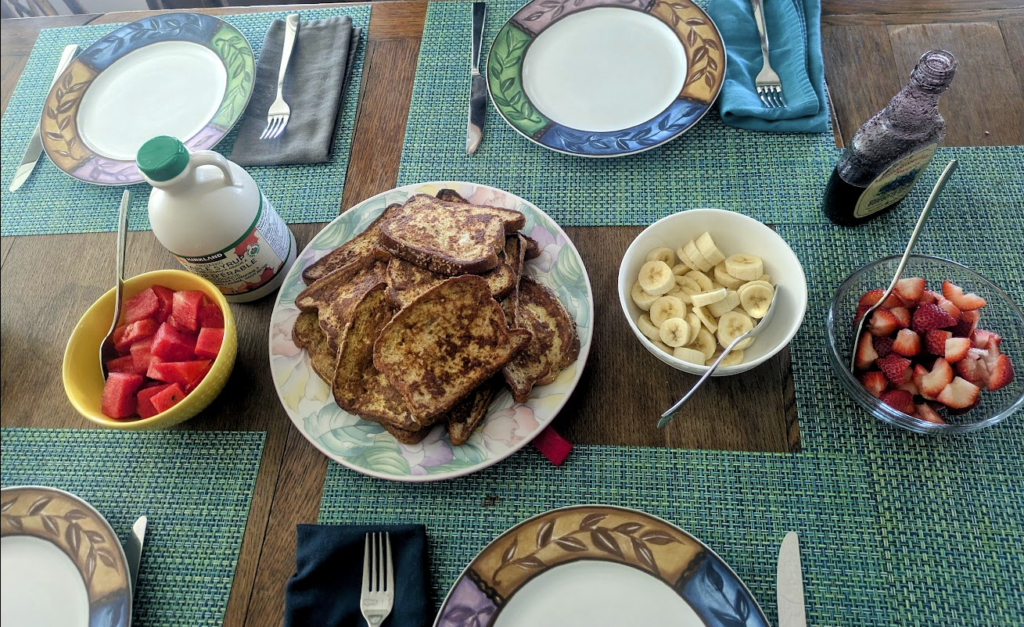
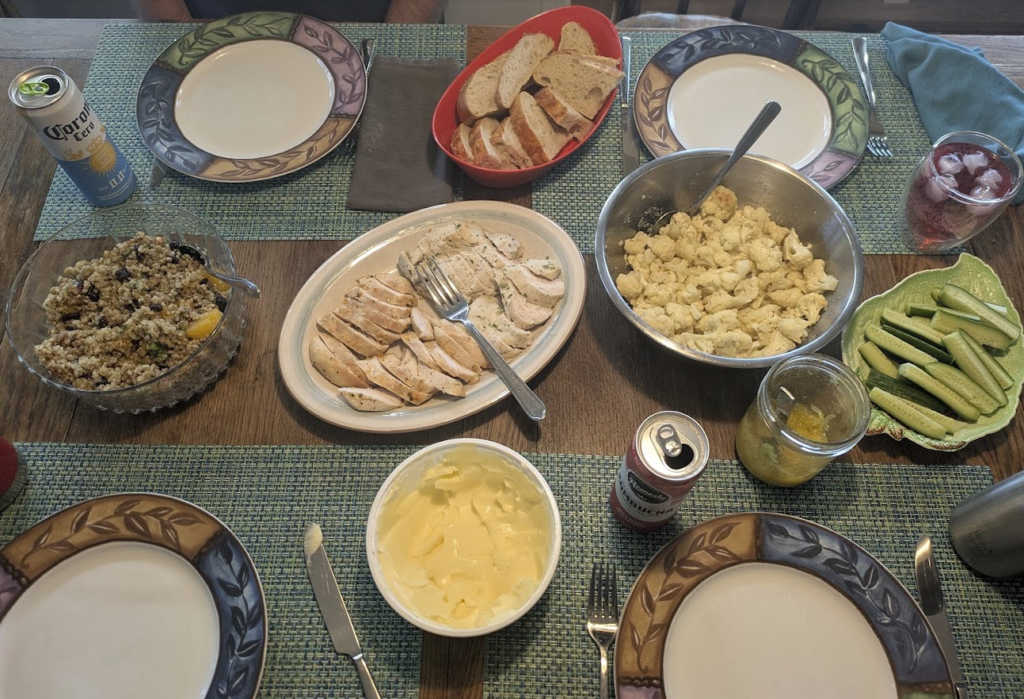
After a good bit of huffing and puffing, we paused for some breakfast courtesy of mama E.
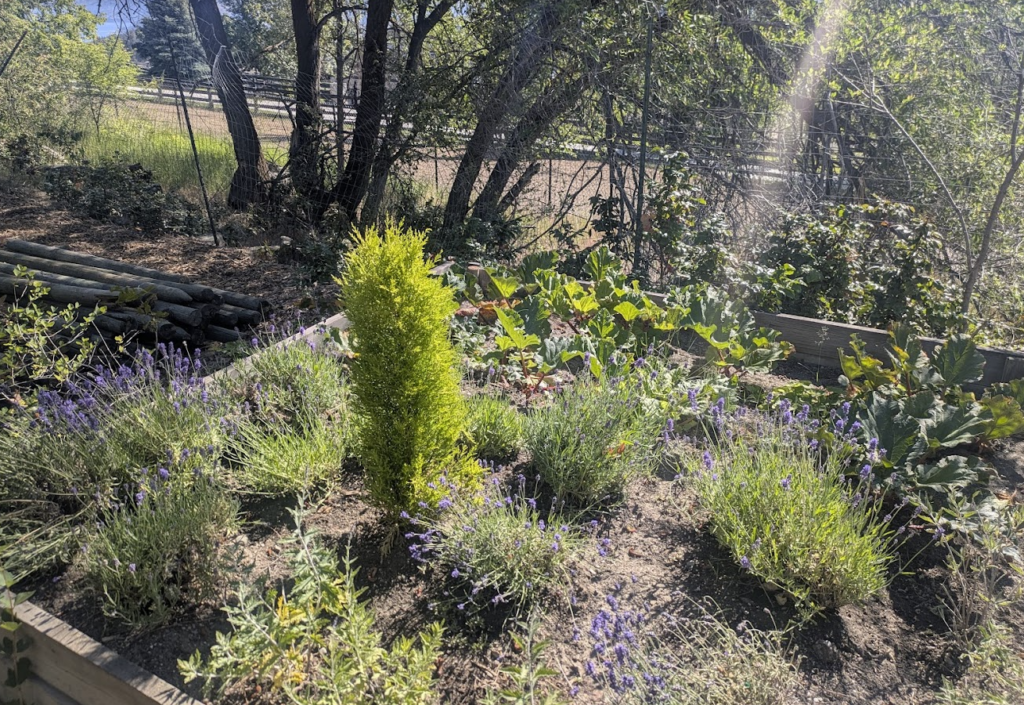
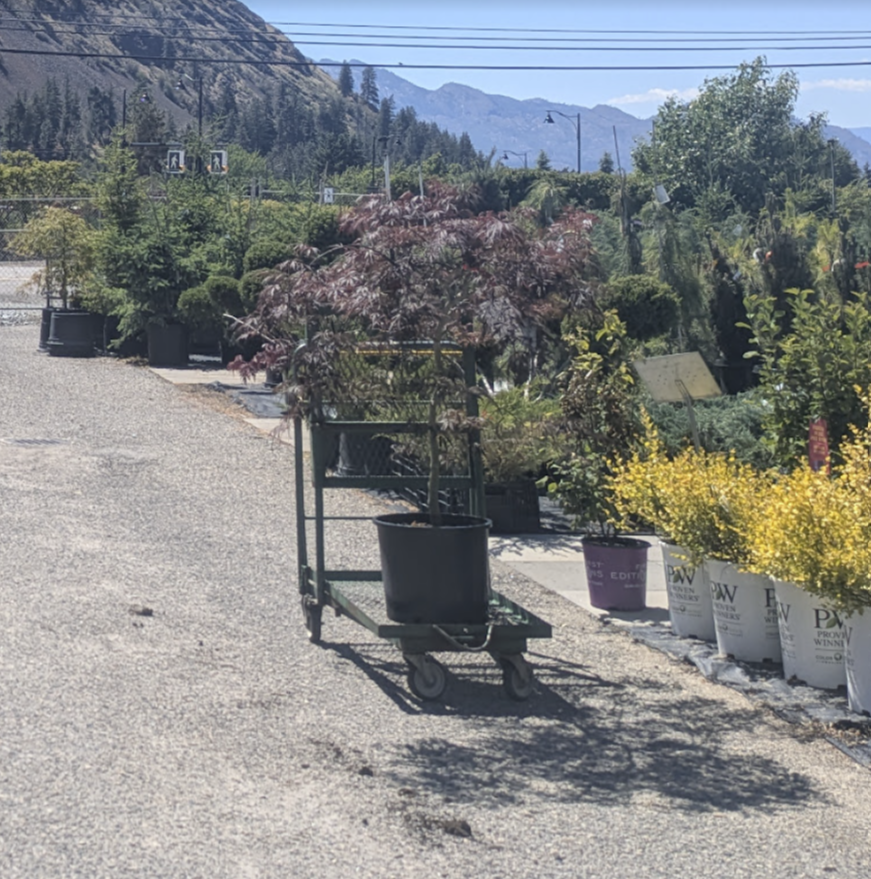
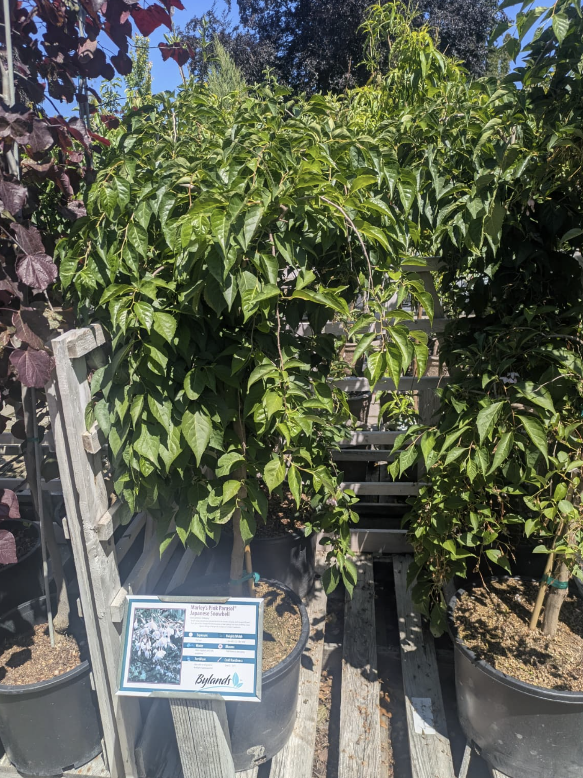
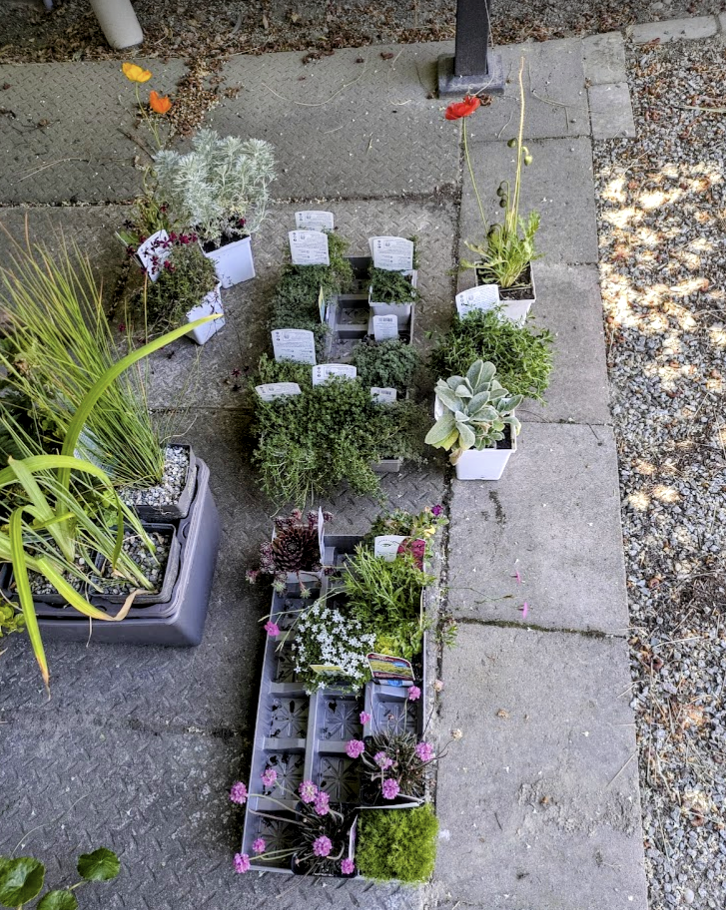
Rejuvenated by breakfast, we drove over to Bylands by West End to look at some more plants for the garden. We found a great Japanese Maple which will be our showcase tree. We also found so many beautiful “weeping” trees that it was hard to make a decision. But we settled on getting a Weeping Caragana and a Japanese Snowbell, until we knew the precise topography of the garden. We also bought a variety of rock plants – the most exciting phase of this project is going to begin soon!

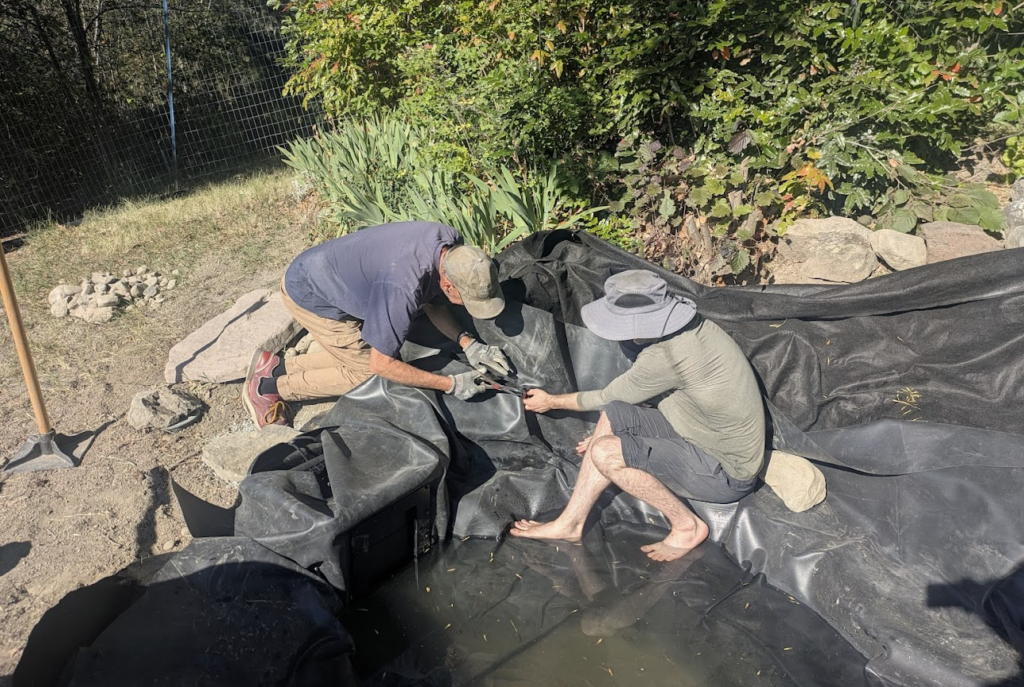
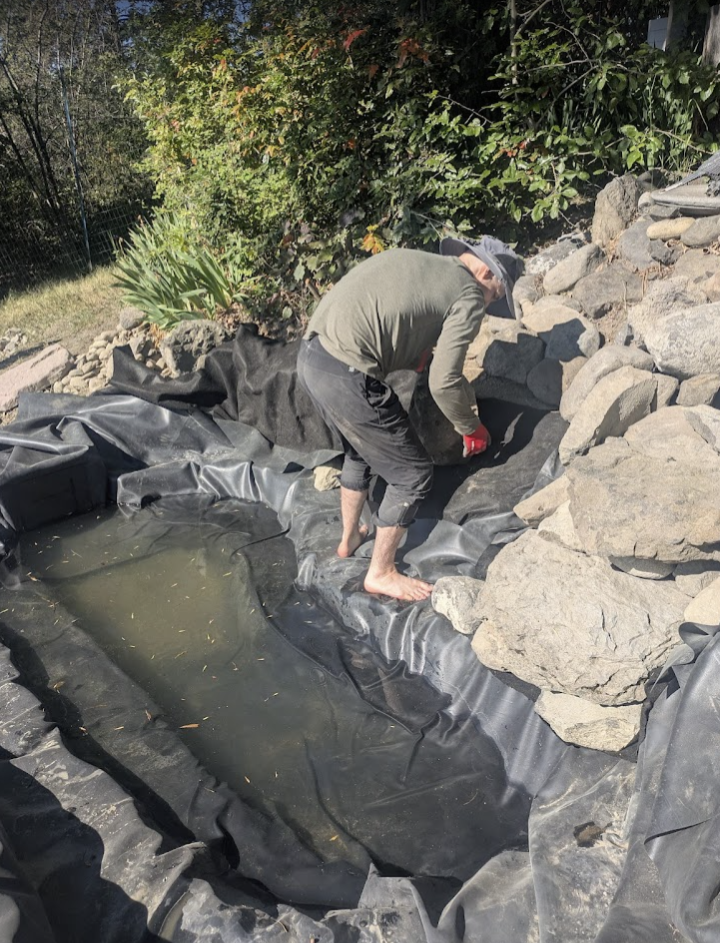
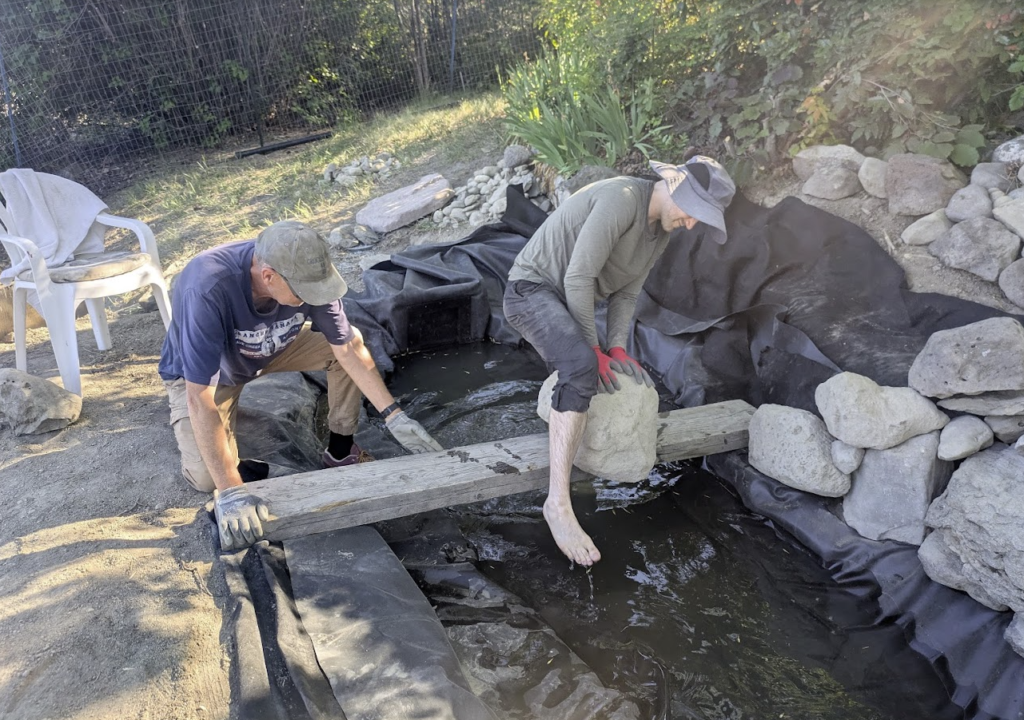
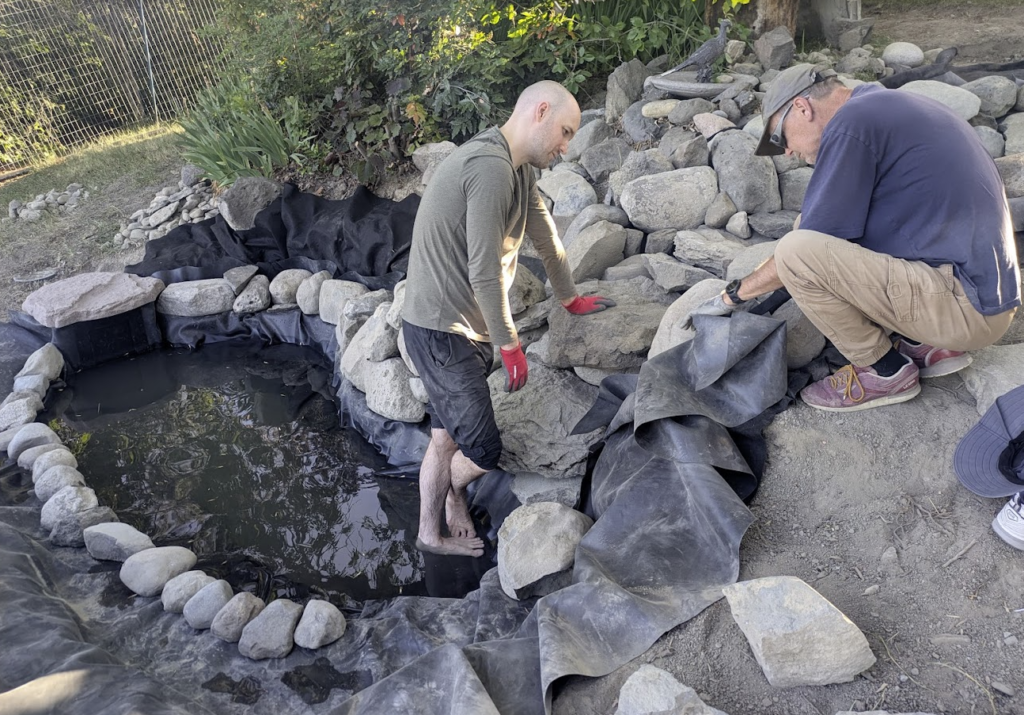
We returned home around 1 pm and it was quite hot outside. Some of us rested and others did some work or calls. We were back to the job at 4 pm. P and Y did another run by the rock quarry to bring back a few large rocks to the main work area. After that, P rolled up his pants and waded into the water to start lining the bottom pond with large rocks again, while Y rolled or hand-carted the rocks over to him. However, soon they ran into some issues as one of the big rocks was too large for Y to lift or for P to carry safely to the corner of the pond shelf where he wanted to place it. P got creative and enlisted D into bringing him a couple long wooden planks over which they slowly rolled the rocks from one side of the pond shelf to another!
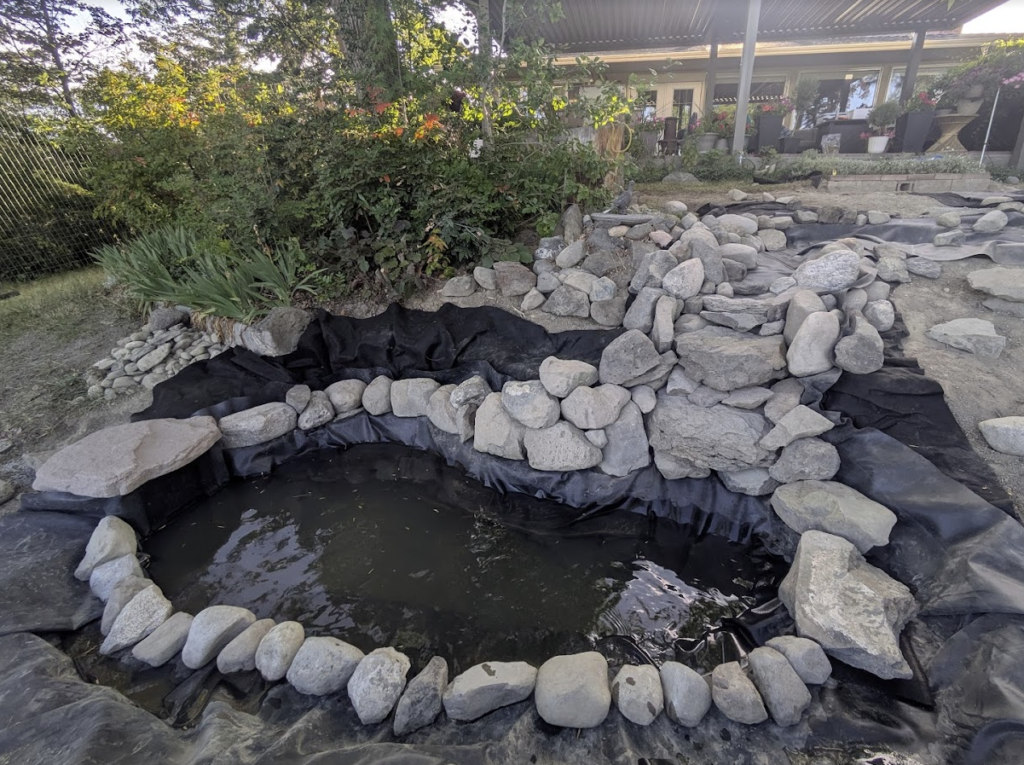
D and Y lined the rest of the bog shelf with smaller rocks leaving enough space for gravel where some of our plants would live. We finished lining up the rest of the exposed edges of the big pond, trimming the liner and fabric where needed. At 7 pm, we stepped away to get some dinner.
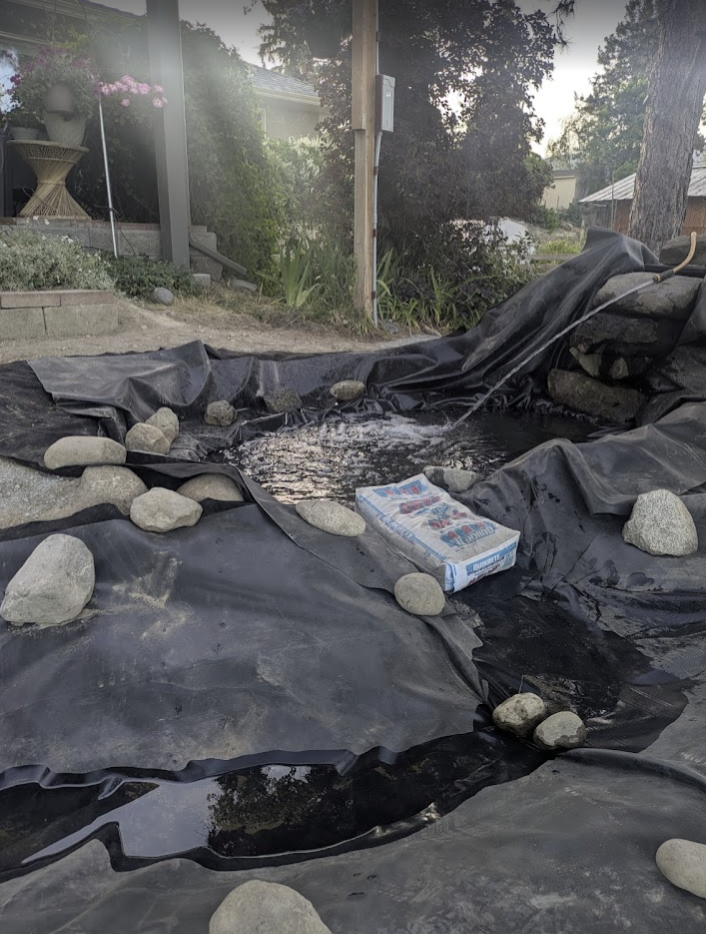
After dinner, D and P insisted on testing out the pool’s flow and the pump right away, squashing any objections that questioned the pools’ readiness. We started by putting a hose into the upper pond to see how the stream flow worked. This is also how we would identify which parts of the rock stacks needed to be foamed to shape the flow of water.
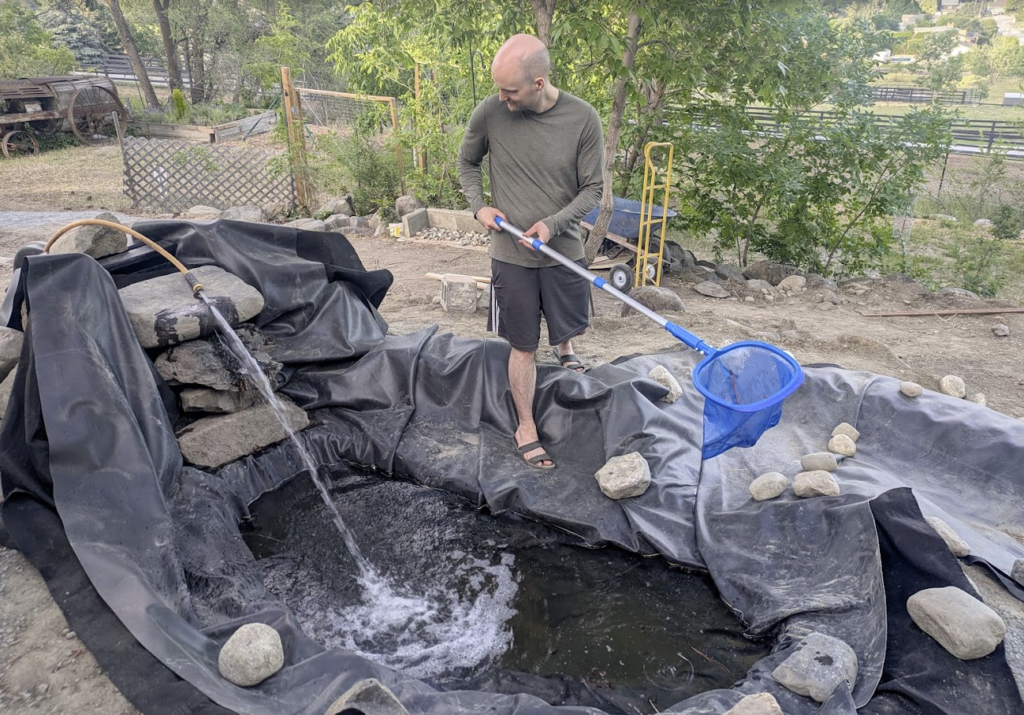
We were absolutely ecstatic that we had a waterfall and everything mostly remained contained within the pool liner. There were some tweaks that we would need to make, especially in terms of adding in the foam since water was percolating through the sides of the bottom waterfall rocks vs going over the lip of some of the large ones to create consecutive falls.
We also noticed that the bog shelf in the upper pond was not getting submerged as it was supposed to – the water was flowing out the stream too quickly, which we tried to remedy by putting a couple of sand bags at the exit path of the upper pond. This worked and we were able to get the bog shelf under the water level, but we would need to find a more permanent solution that didn’t kill our stream’s aesthetic!
After filling out both the ponds to adequate levels, we turned on the motor to see whether it was doing its job. We found the flow to be quite vigorous, and the top spillway had to be held down, with fabric completely secured to ensure water didn’t actually spill out of the thin liner covering we had left there. We adjusted the height of the spillway higher. P was also not really able to connect the motor to the WiFi or access it on his app, so the motor ran on automatic mode. Truth be told, this was not the burbling stream some of us were envisioning.
E had come out to view the ongoing testing and suggested that we move the router closer to the outside patio. E also downloaded the app and wisely went through the instructions which uncovered a key issue. A switch that was supposed to be flipped to pairing mode, was actually off and was the reason why our motor was running out of control and likely at the maximum power, yikes! Soon we were able to control the motor via phone, and that helped control the volume of water gushing through our spillway and the ponds.
The crew was outside almost until 9:30 pm today, and really glad to see that our little setup actually worked almost as we envisioned it. Tomorrow, we will bring in the rocks for the paths in a truck and the next few days, we will focus on fine tuning the flow of water over our spill rocks, as well as making adjustments to the level of the areas that need their level changed. It’s all coming together!
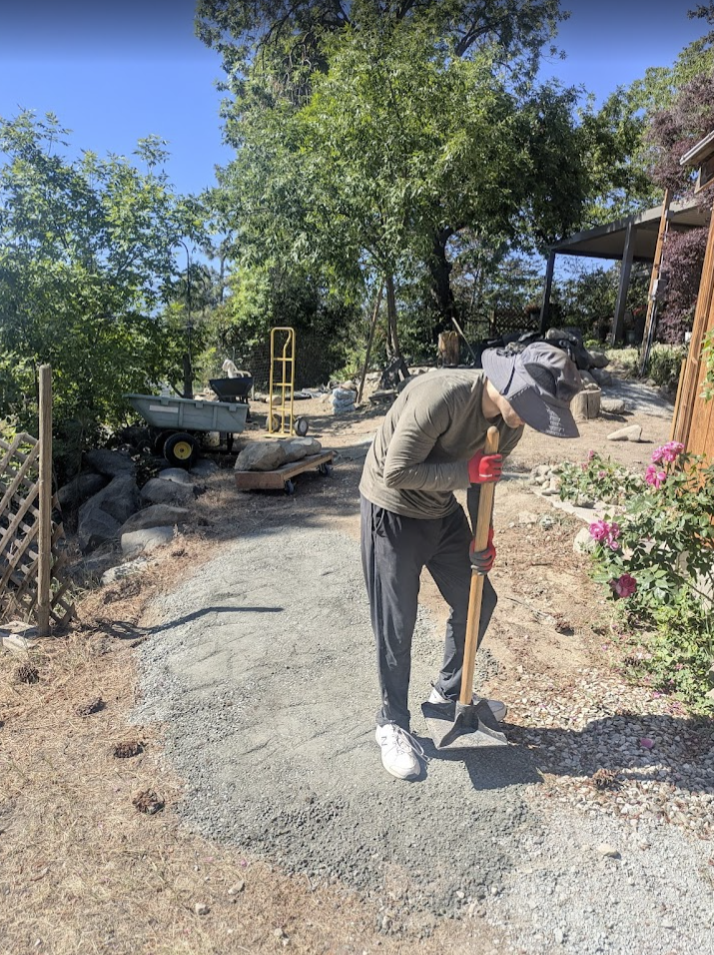
Congrats on your Japanese garden project. I wish I was there and able to help move the rocks and positioning the liner. A big project! Glad to see the 3rd generation working hard. Enjoyed seeing D pulling the stone bolt with the garden tra tor. George and Nan would be proud.
Thanks so much! We wish you were here too, but you’re doing important stuff right now.
Duane and I are thrilled to be part of this adventure.