Day 12, Wednesday, June 10, 2026: Lining Up!
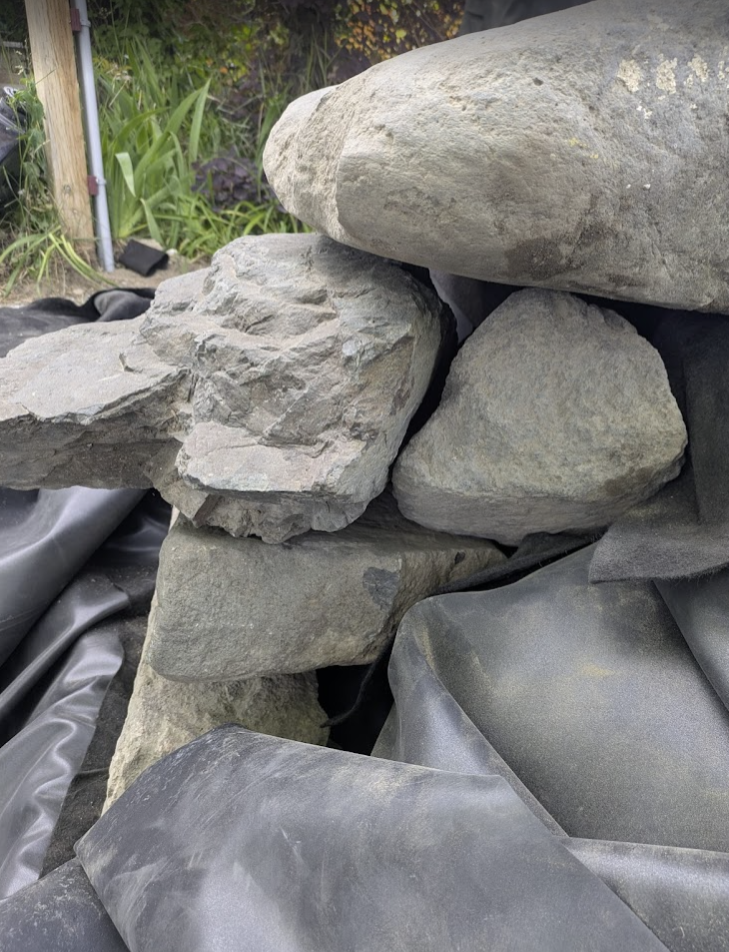
It was another crisp summer morning here at West Kelowna, but that didn’t stop our crew from getting started on the task they had been looking forward to for days – getting the pond liners in! Before we started with the liners and under lays, we wanted to solidify how the upper pond’s waterfall rocks stacked since part of the liner would go around to the spillway that would be seated on these rocks. Now, as we reported on yesterday’s blog, P and K had already created a multi-layer line up. Deeper inspection in the morning revealed that the set up resulted in a sharp, almost 90 degree angle needed for the pipe to reach the back of the spillway. To D’s dismay, we had to disassemble the arrangement and move all the heavy rocks out of the way to let the pipe curve out more naturally behind the spillway!
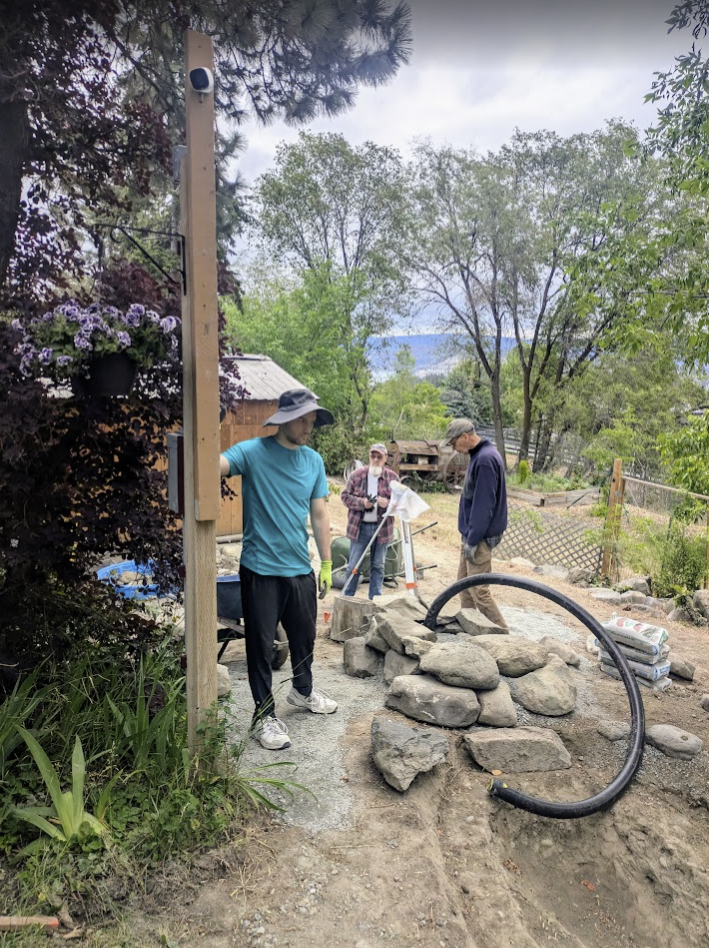
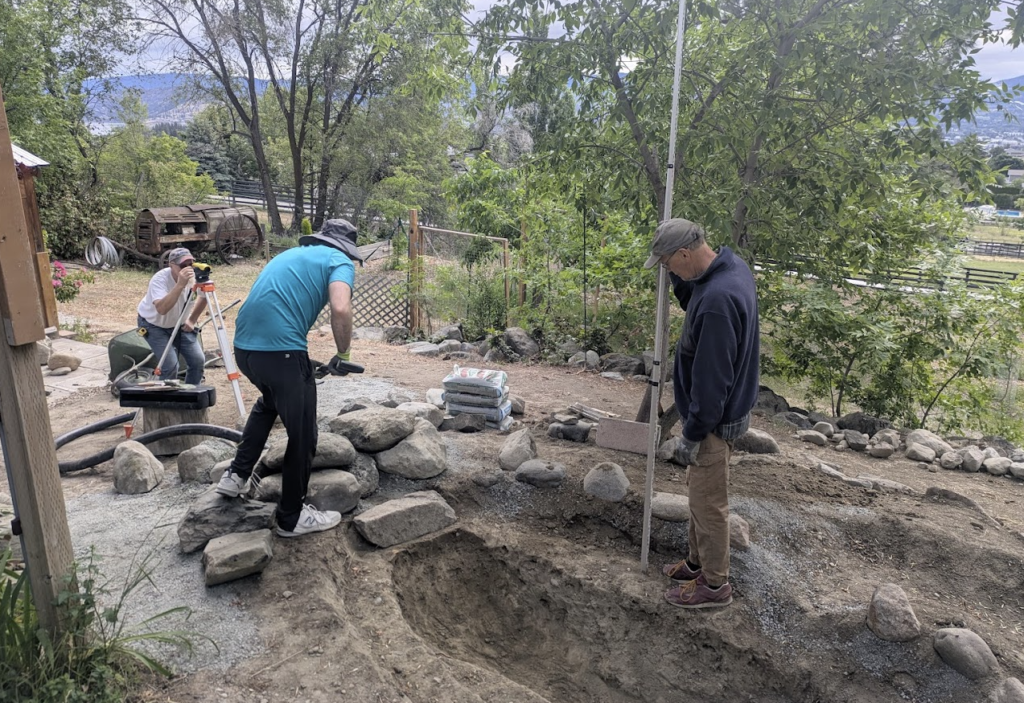
So, while P working on disassembling the rock pileup and gravel from the upper pond waterfall area, K, D and Y got busy measuring the levels of all the pond edges to ensure we didn’t need to make adjustments before we put in the under-lay.
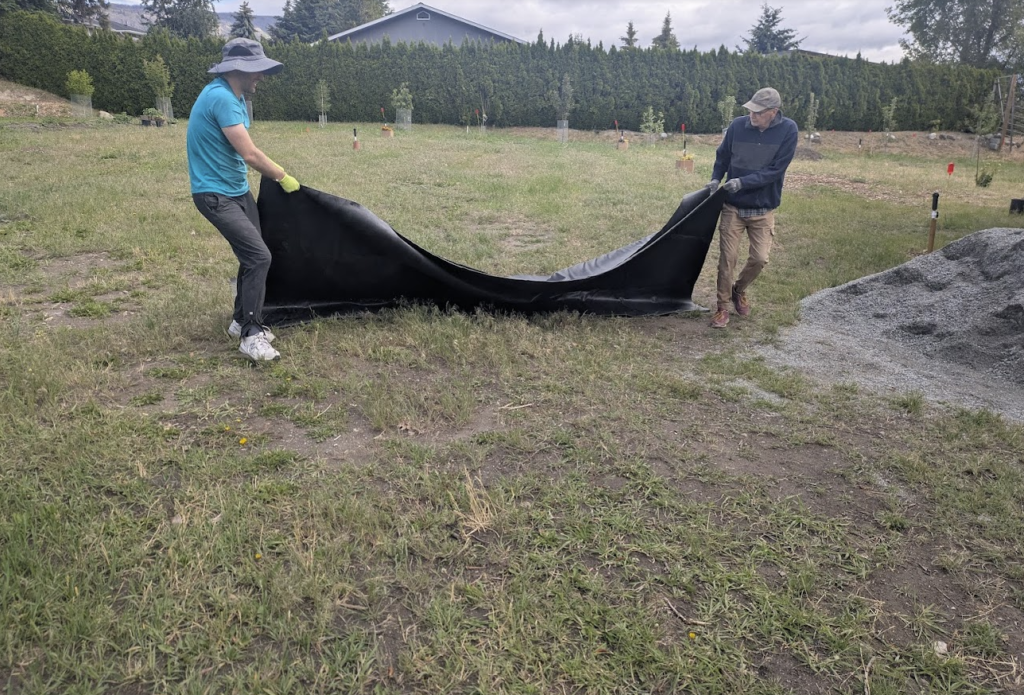
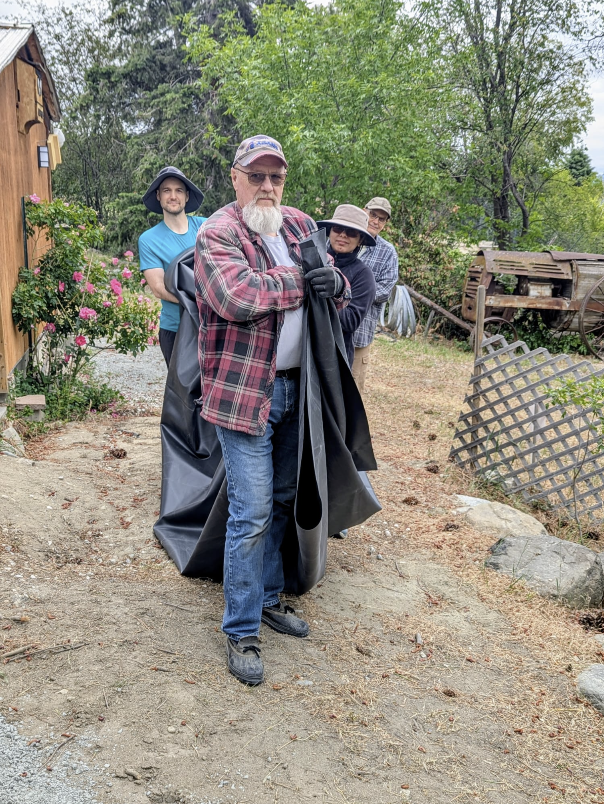
And just like that, it was time to unroll the pool liner out in the sun to stretch out a little before we started working with it.
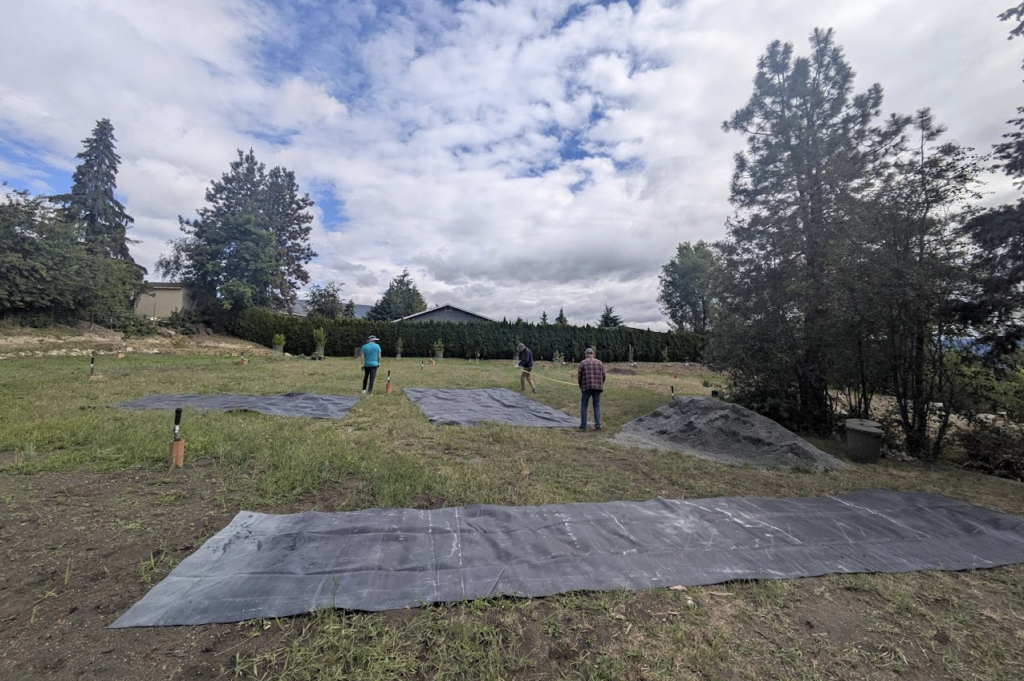
After opening up the large 45’x15′ roll of underlay fabric, D and Y cut that into pieces. D began by laying down the landscape fabric over the small pond and the stream bed. P and K did the same for the large pond.
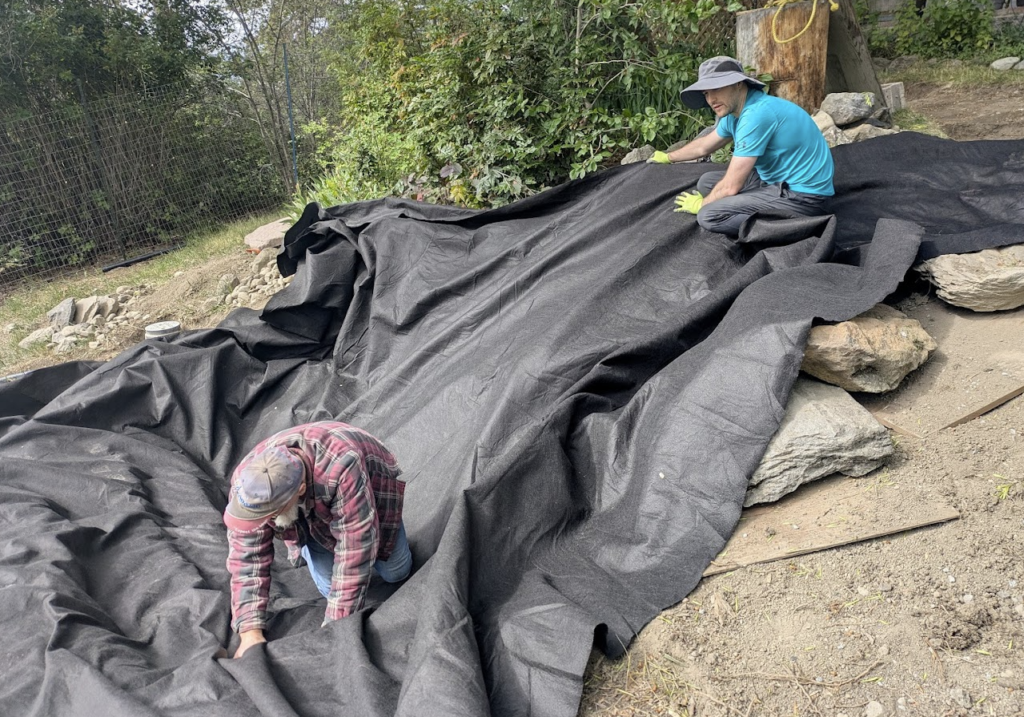
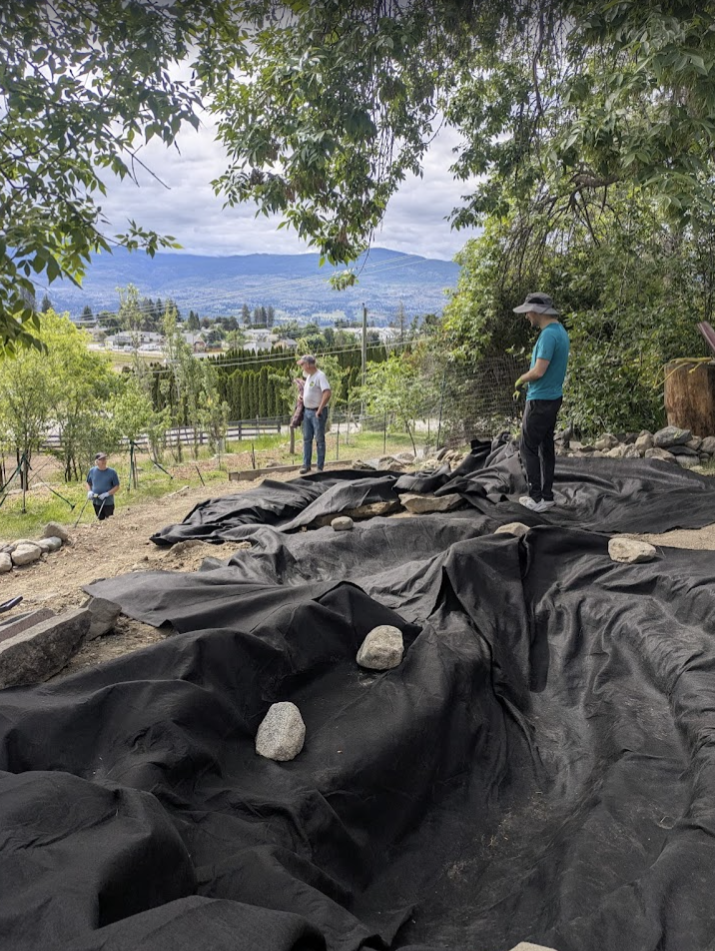
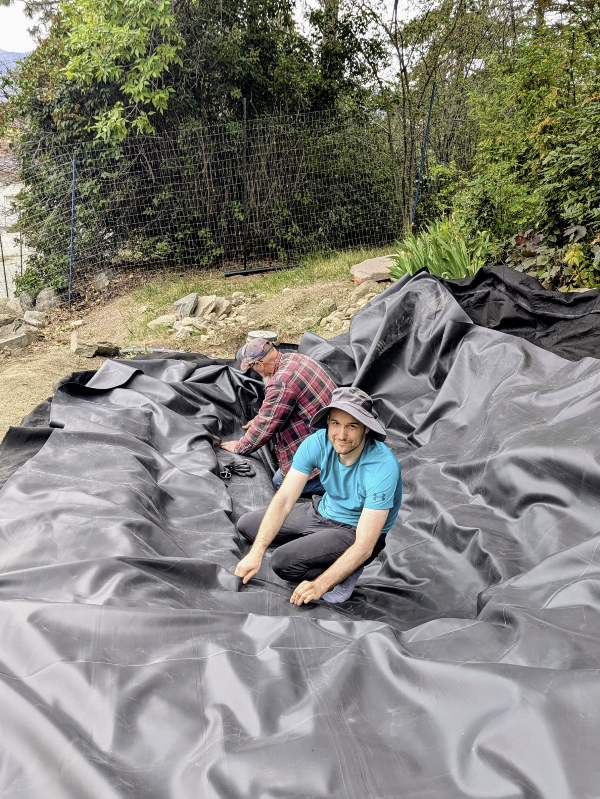
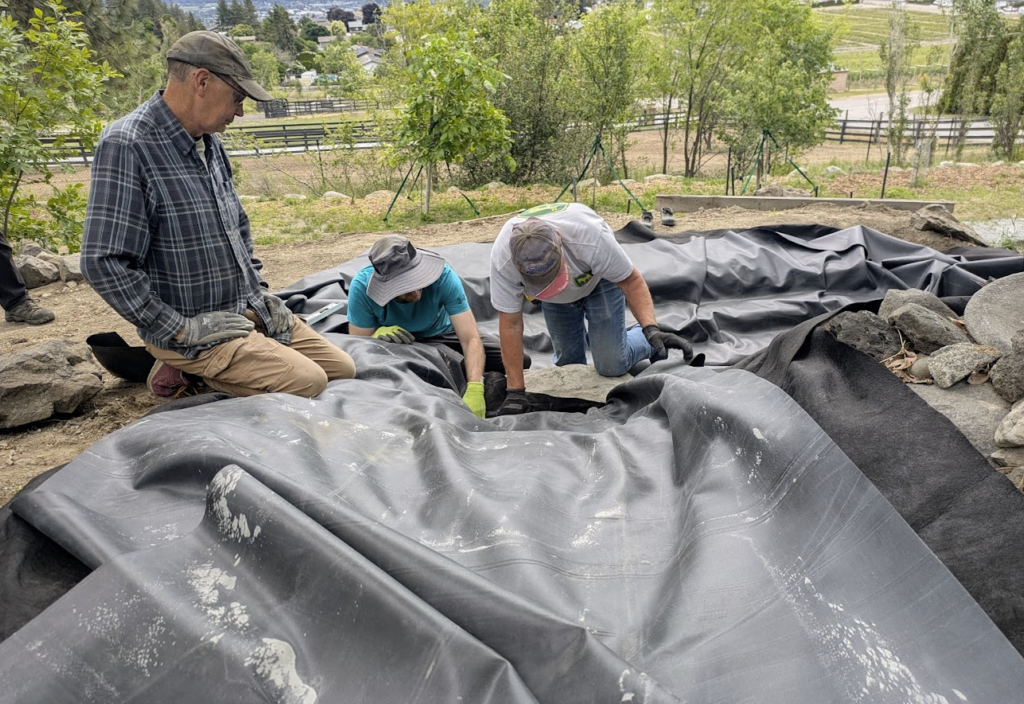
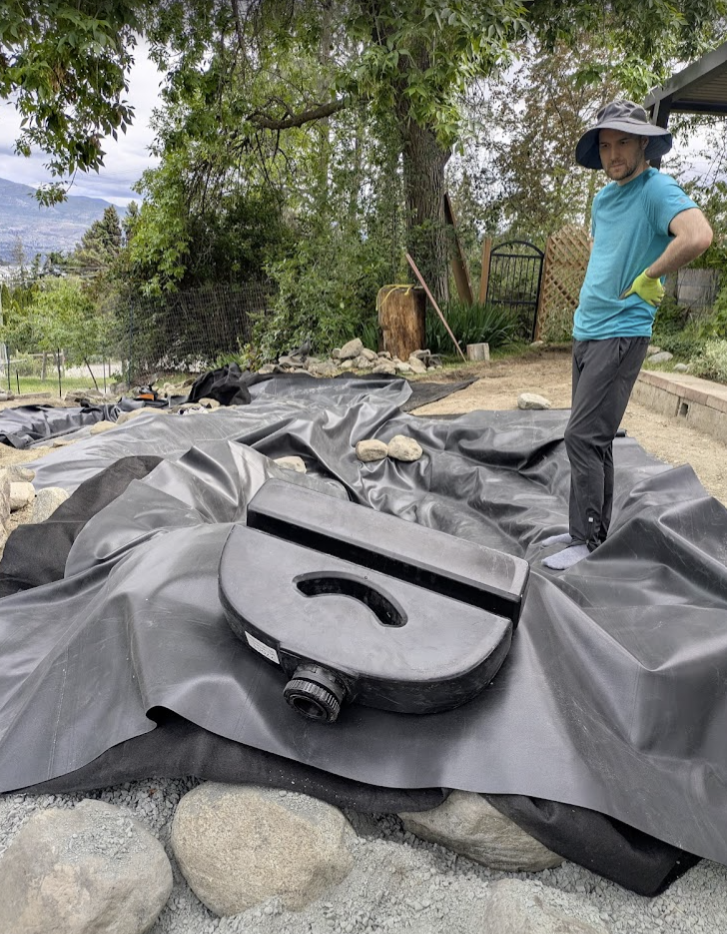
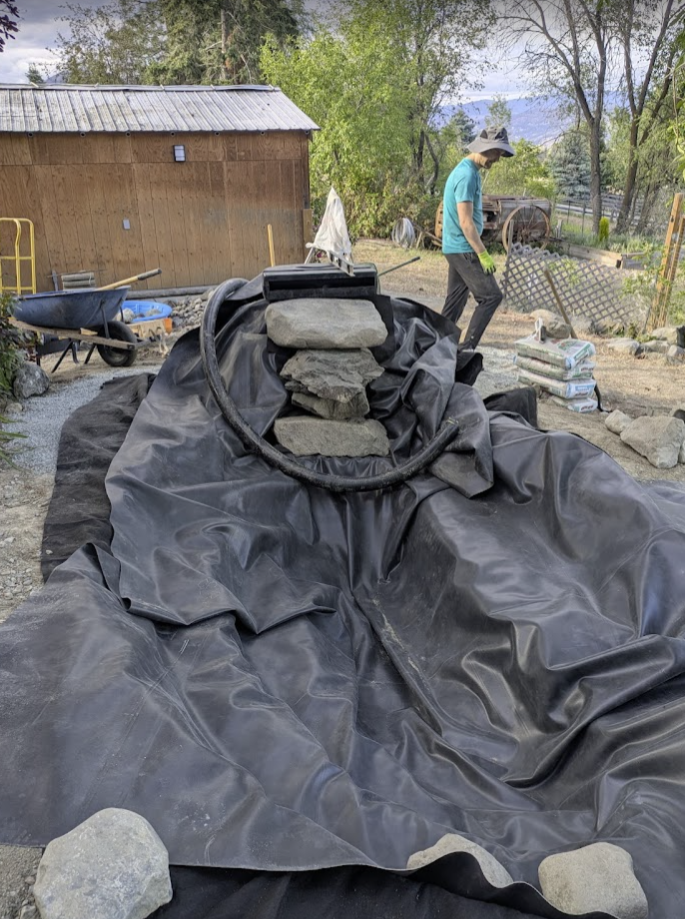
Once the underlay was in place, we moved on to the main liner. This was a somewhat slow process as we didn’t want to step on the liner with our shoes, and the ponds could only accommodate so many people.

K and P started with the big pond, while D and Y worked on laying out the liners roughly over the stream and the small pond in order to wait for the big pond to finish.
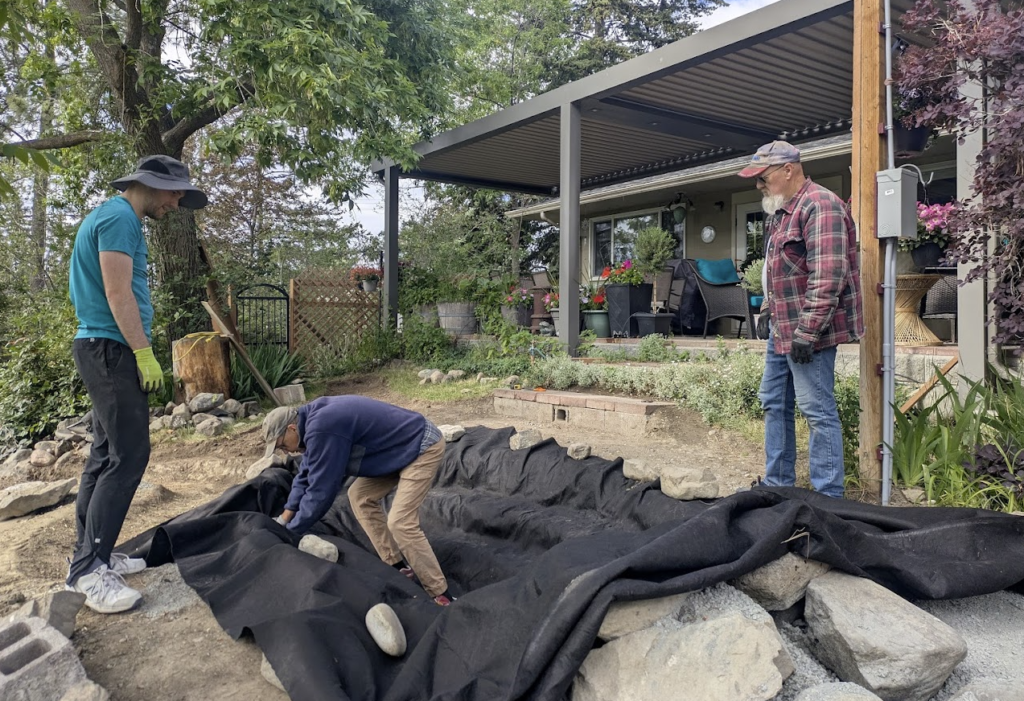
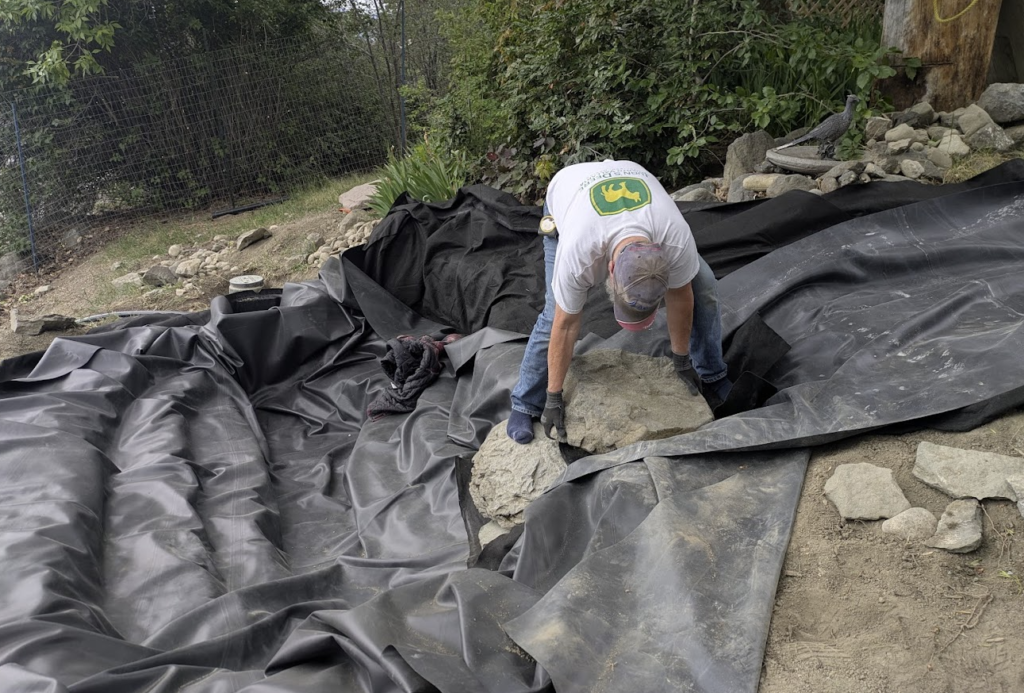
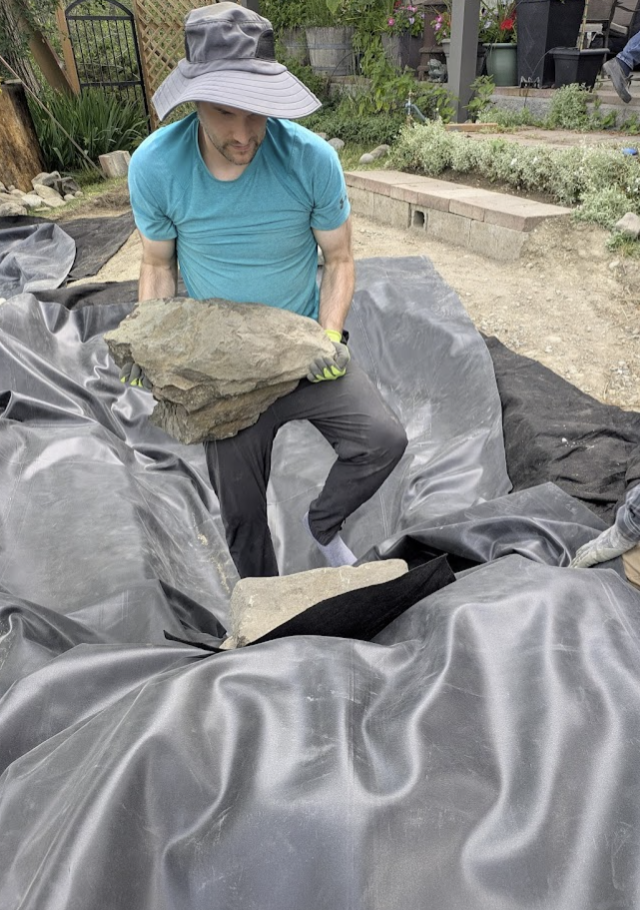
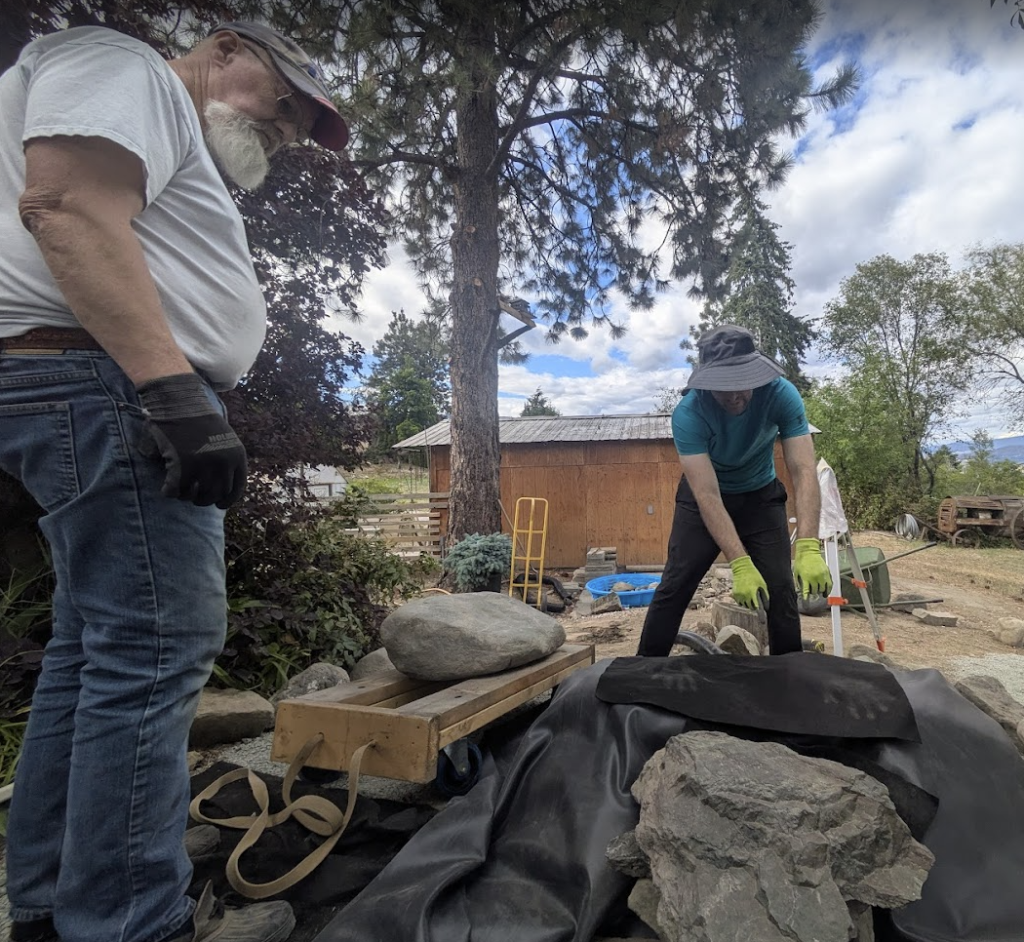
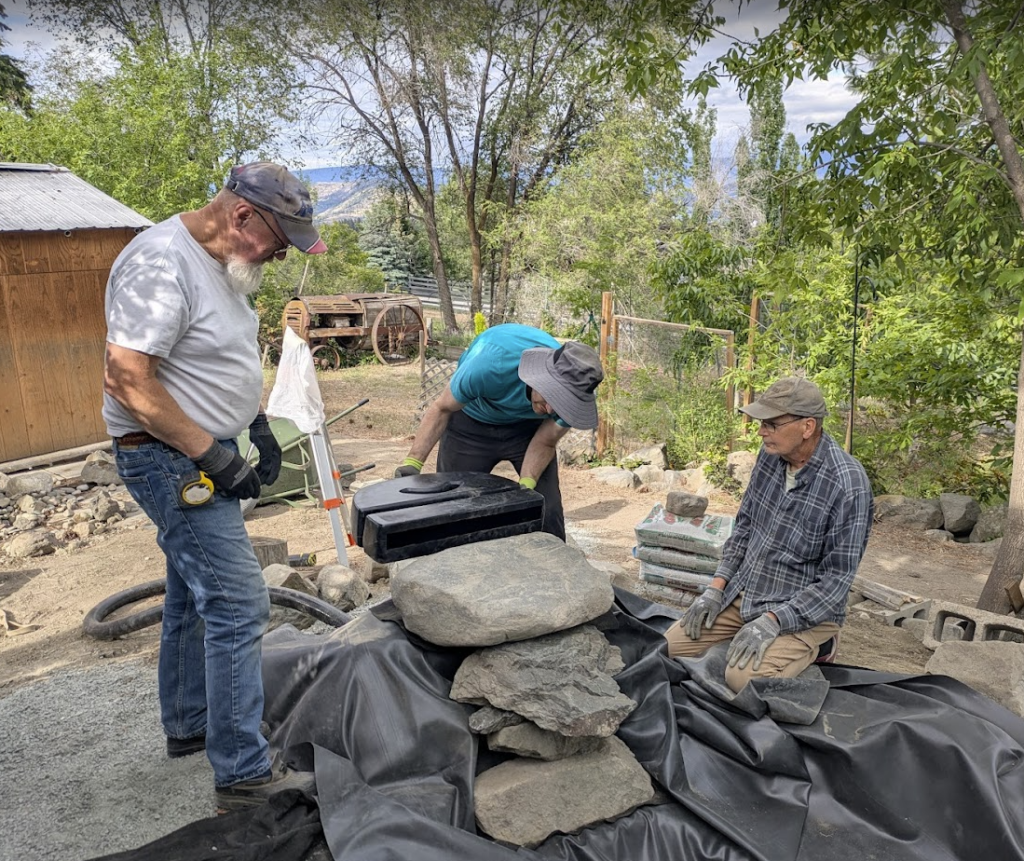
We also decided to start placing the waterfall rocks in position on the big pond, where K and P did most of the heavy-lifting. Who knew choosing the right rocks and placing them just at the correct angles would turn out to be such a game of tetris? Well, maybe we had a hint.
Y adjusted the shape of the liner for the stream and P worked on attempting to clean rocks with brushes prior to setting them down on the liner. This is something we forget to do ahead of time and might now see silt in our ponds, oops. K moved on to working on the plumbing and electricals.
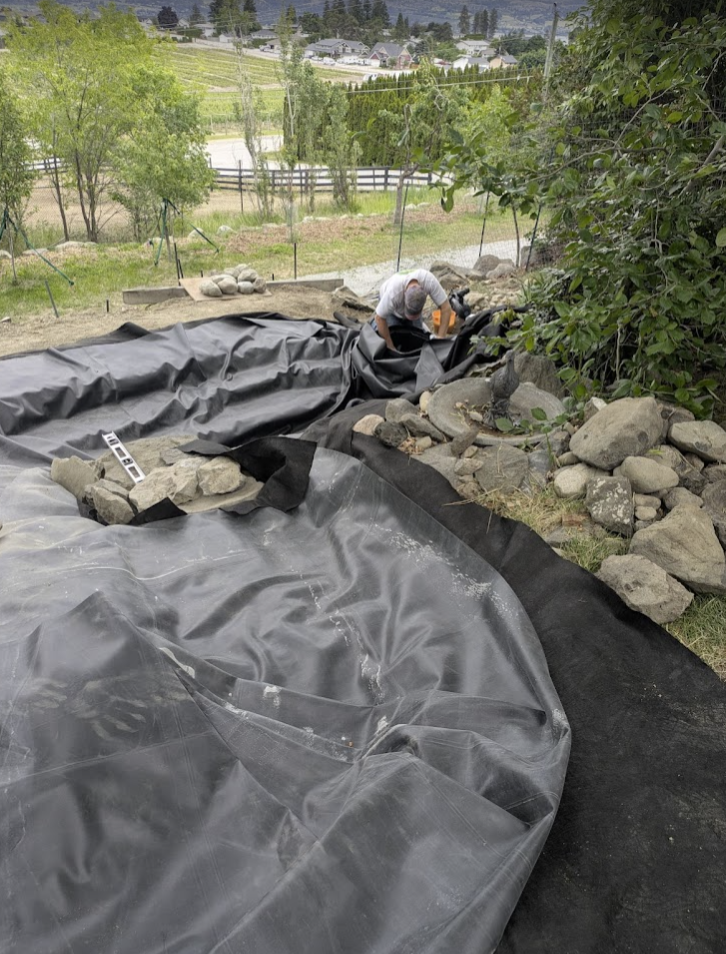
In the evening shift, P and Y worked on contouring the upper pond lining, which needed to be adjusted as the length proved to be smaller than what we needed. We’d also changed plans from running the lining till the front of the spillway to now covering the back of the pipe based on the model we ended up getting from the PSource store.
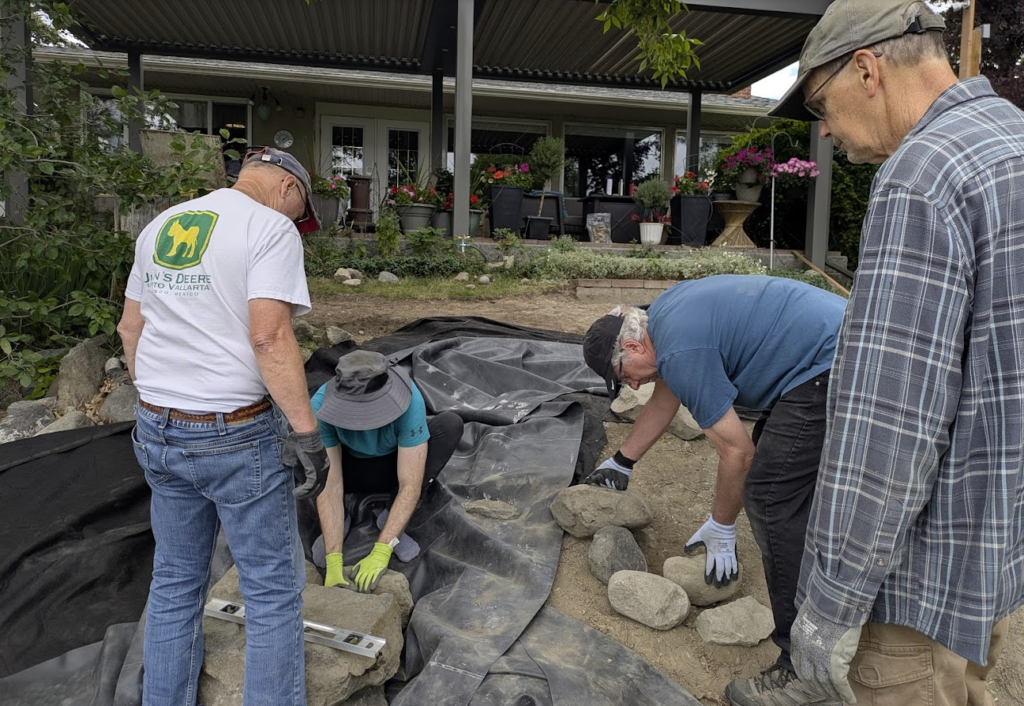
Next we also worked on sourcing and placing big rocks around the front waterfall rock stack to make the arrangement stable across the board. P did most of the heavy-lifting and almost lost a finger, ouch! K came in clutch to give P a hand in lifting our heaviest rock of the group as the base for the spillway.
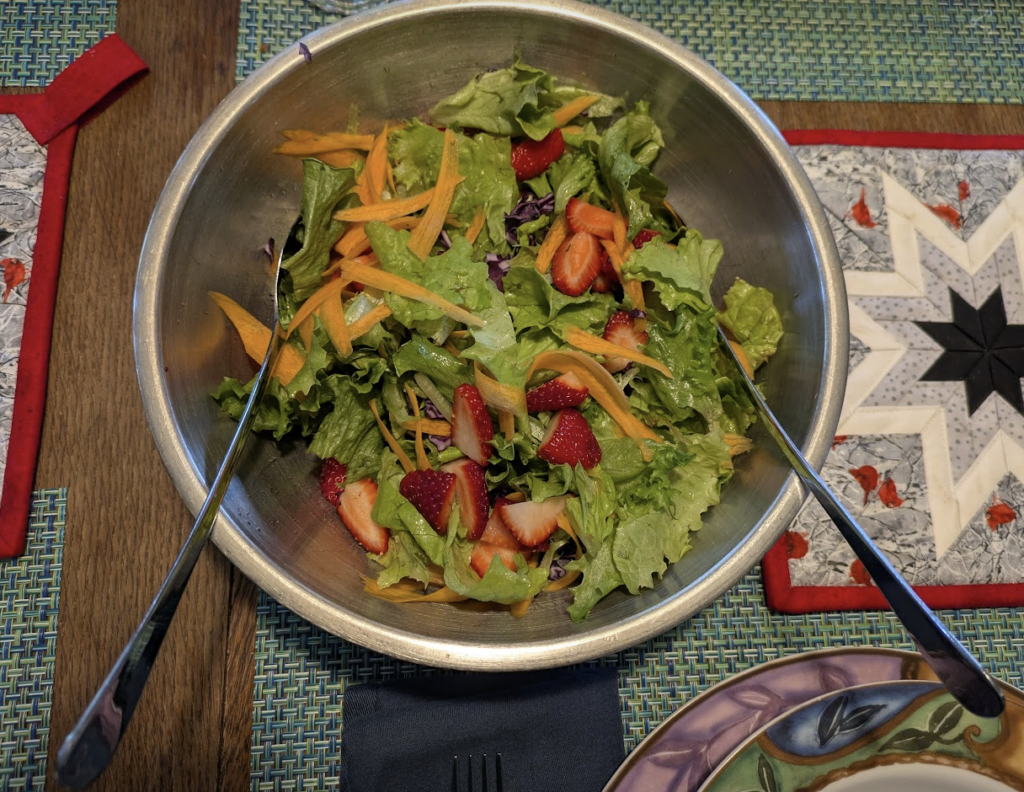
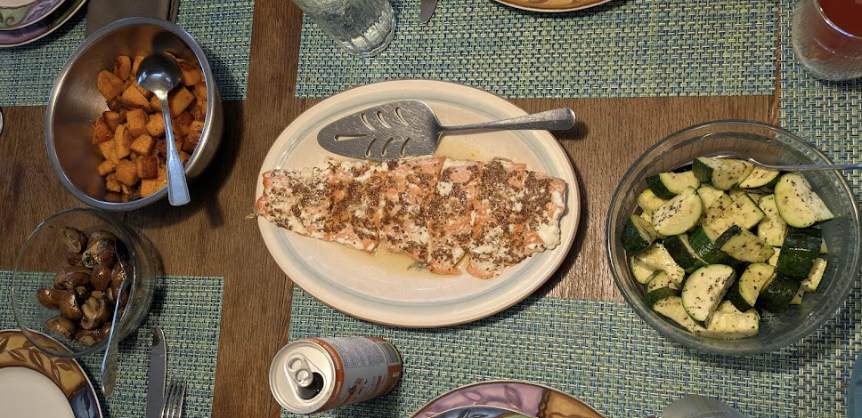
Next we need to attempt to smoothen the liner with the help of water in the pond. We also plan to line up the bog shelf with some small to medium sized rocks. Some of us are really excited about what comes after – the planting phase! Others are more excited about building wooden bridges. For now, there was a delicious dinner to enjoy.